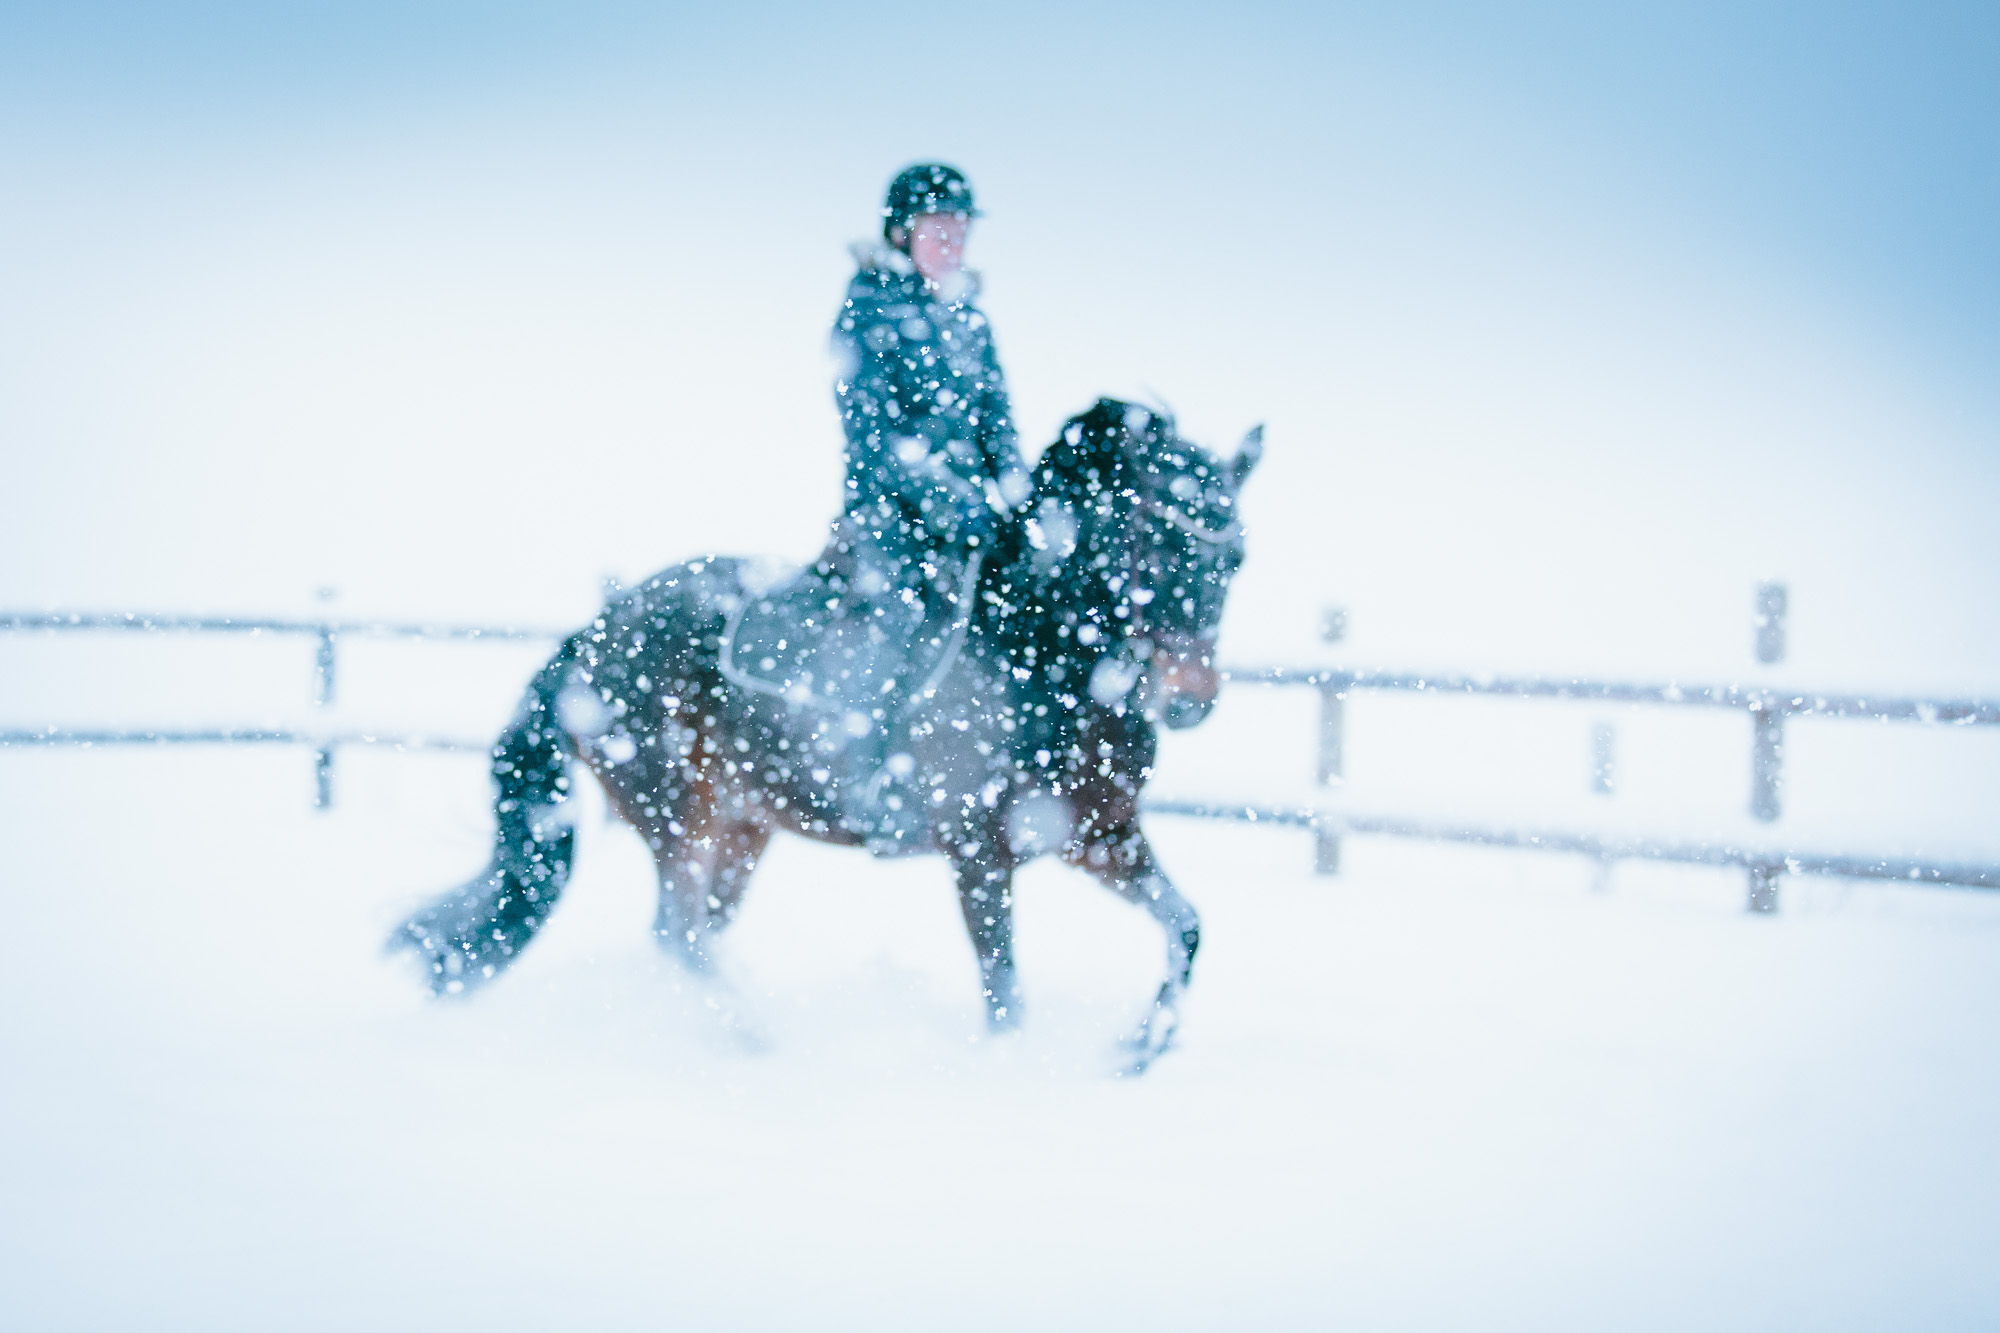
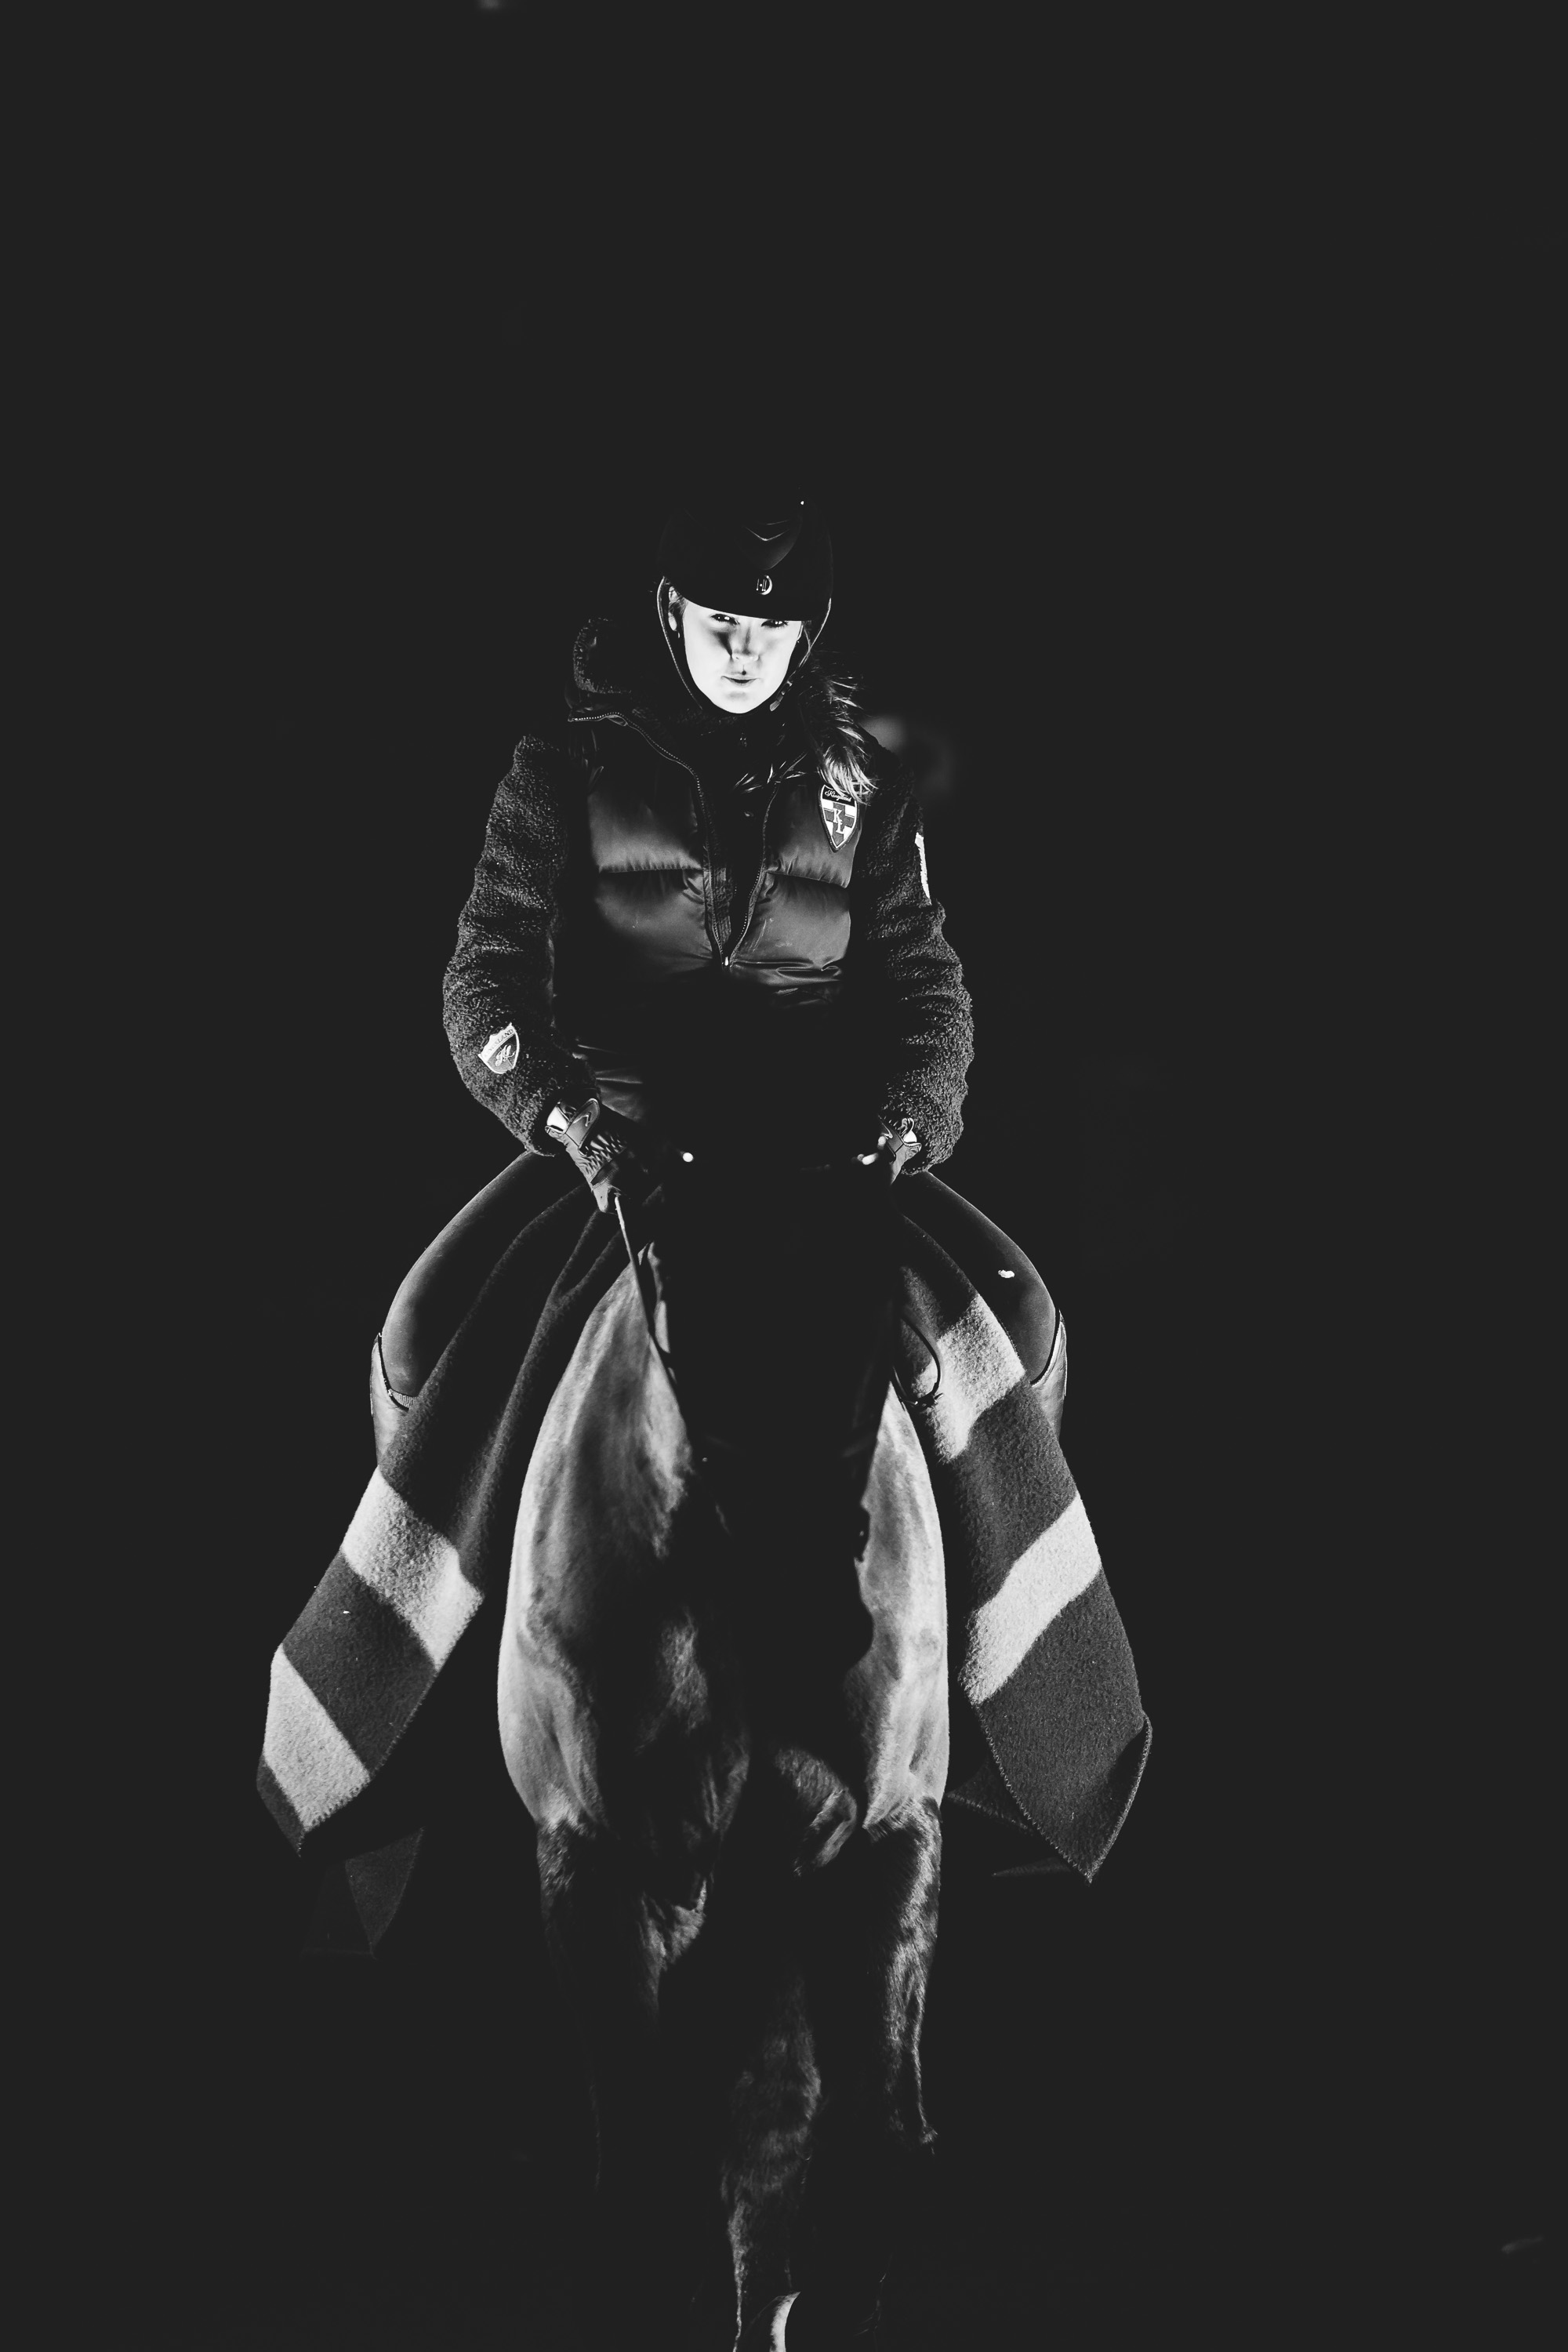
When I was in the stable on Christmas Eve, the light was beautiful. Owning a pony means going to the stables (almost) every day, so when we went back on Boxing Day, the weather was totally different. First, we tried to get our own pony Rocket to run in the snow, but he didn’t want to. So when one of the other girls was going to ride her pony Isaac on the outside riding ground, I grabbed my camera.
Due to the heavy snow, the camera had real problems finding focus on the rider, so I got a lot of blurry photos of snowflakes…
Blurry photo of snowflakes
I think the photos have a quality of their own, though. That slightly abstract, surreal feeling where the rider is not in focus, enables the viewer to focus on the feel of the photo….
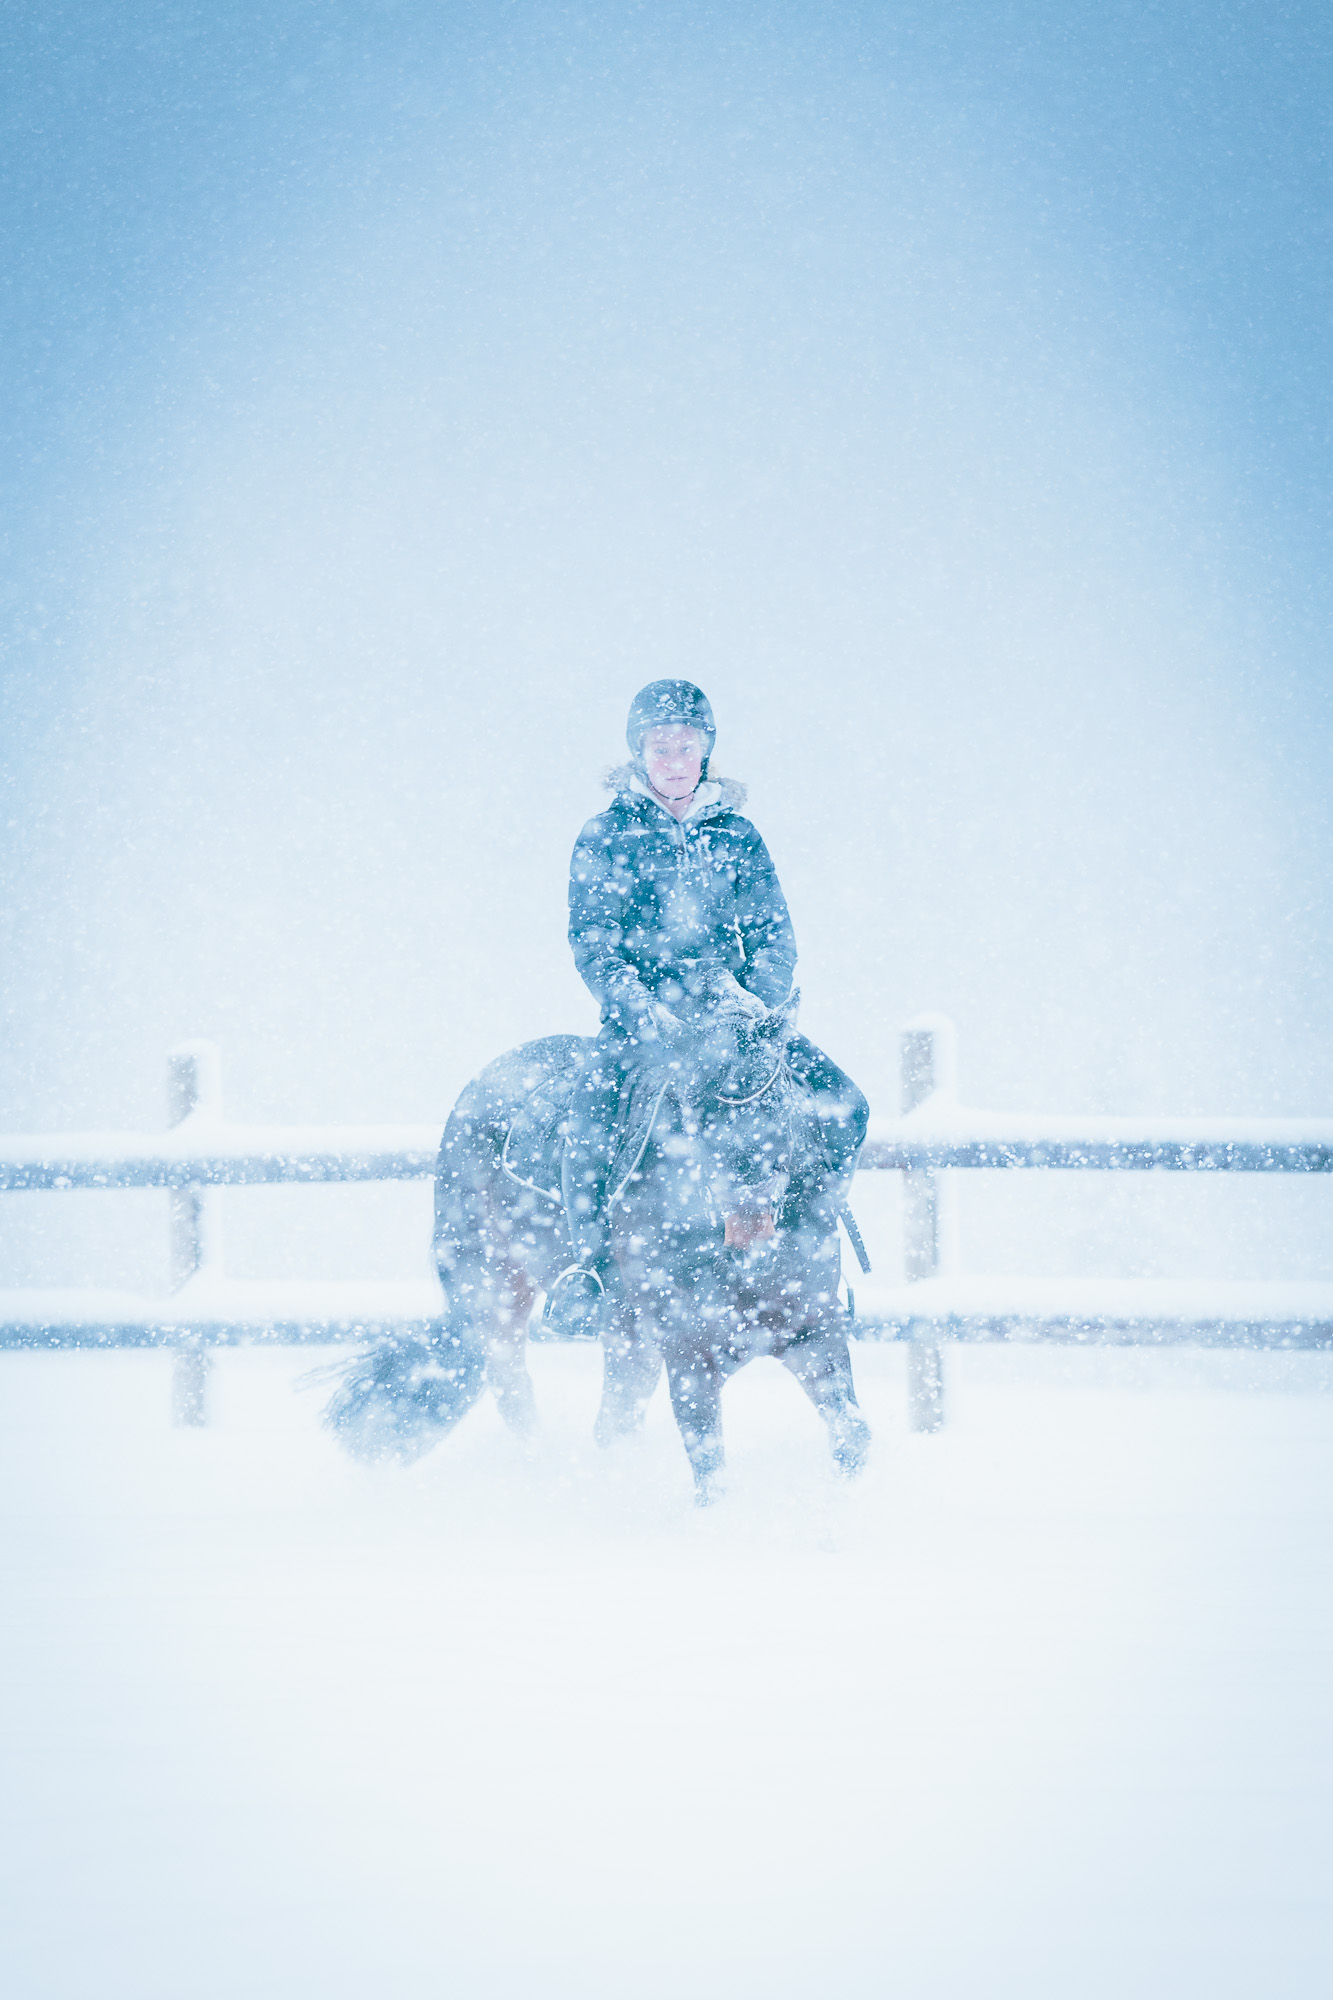
I tried different camera settings, and found that I had to use mostly manual focus…
Using manual focus, I managed to capture the riderIt was really snowing…A happy horse in the snow…
Tomorrow is another day, with new photo opportunities. Camera is packed, batteries are charged…
As an (amateur) photographer I have to say that summer is one of my favorite times of the year for photography where I live. The long, white nights with soft light makes for beautiful photos, and since we are so far north the golden hour lasts forever as the sun just dips below the horizon…
In the winter however, there is no outdoor lights… The sun just sneaks over the horizon in the middle of the day, and it is mostly dark all the time. But even if there is no light, it is still possible to have a lot of fun…
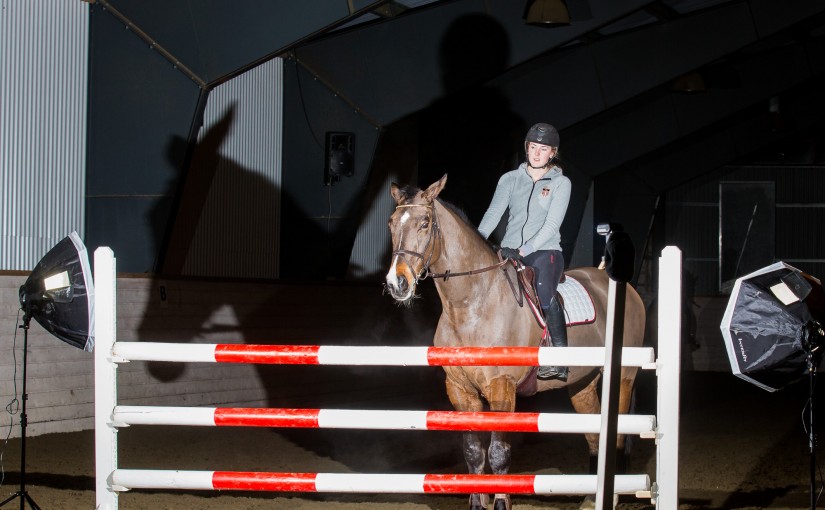
Over the past year or so, I have built some skills in taking horse portraits with a black background. They are almost straight out of camera with some slight adjustments in LR to make them sparkle. I felt the time was ripe for taking it to another level, and enlisted the help of my kids horse instructor. The setup was fairly simple:
Behind the scenes
I used two radio triggered flashes (Canon 580 EX) for lighting, along with a couple of video lights for helping the autofocus.
The horse (Cordo) was of course quite sceptical in the beginning, so we started off with him walking through the lights a couple of times. Although unplanned, this gave us some really cool shots.
From the initial setting up of lights and such
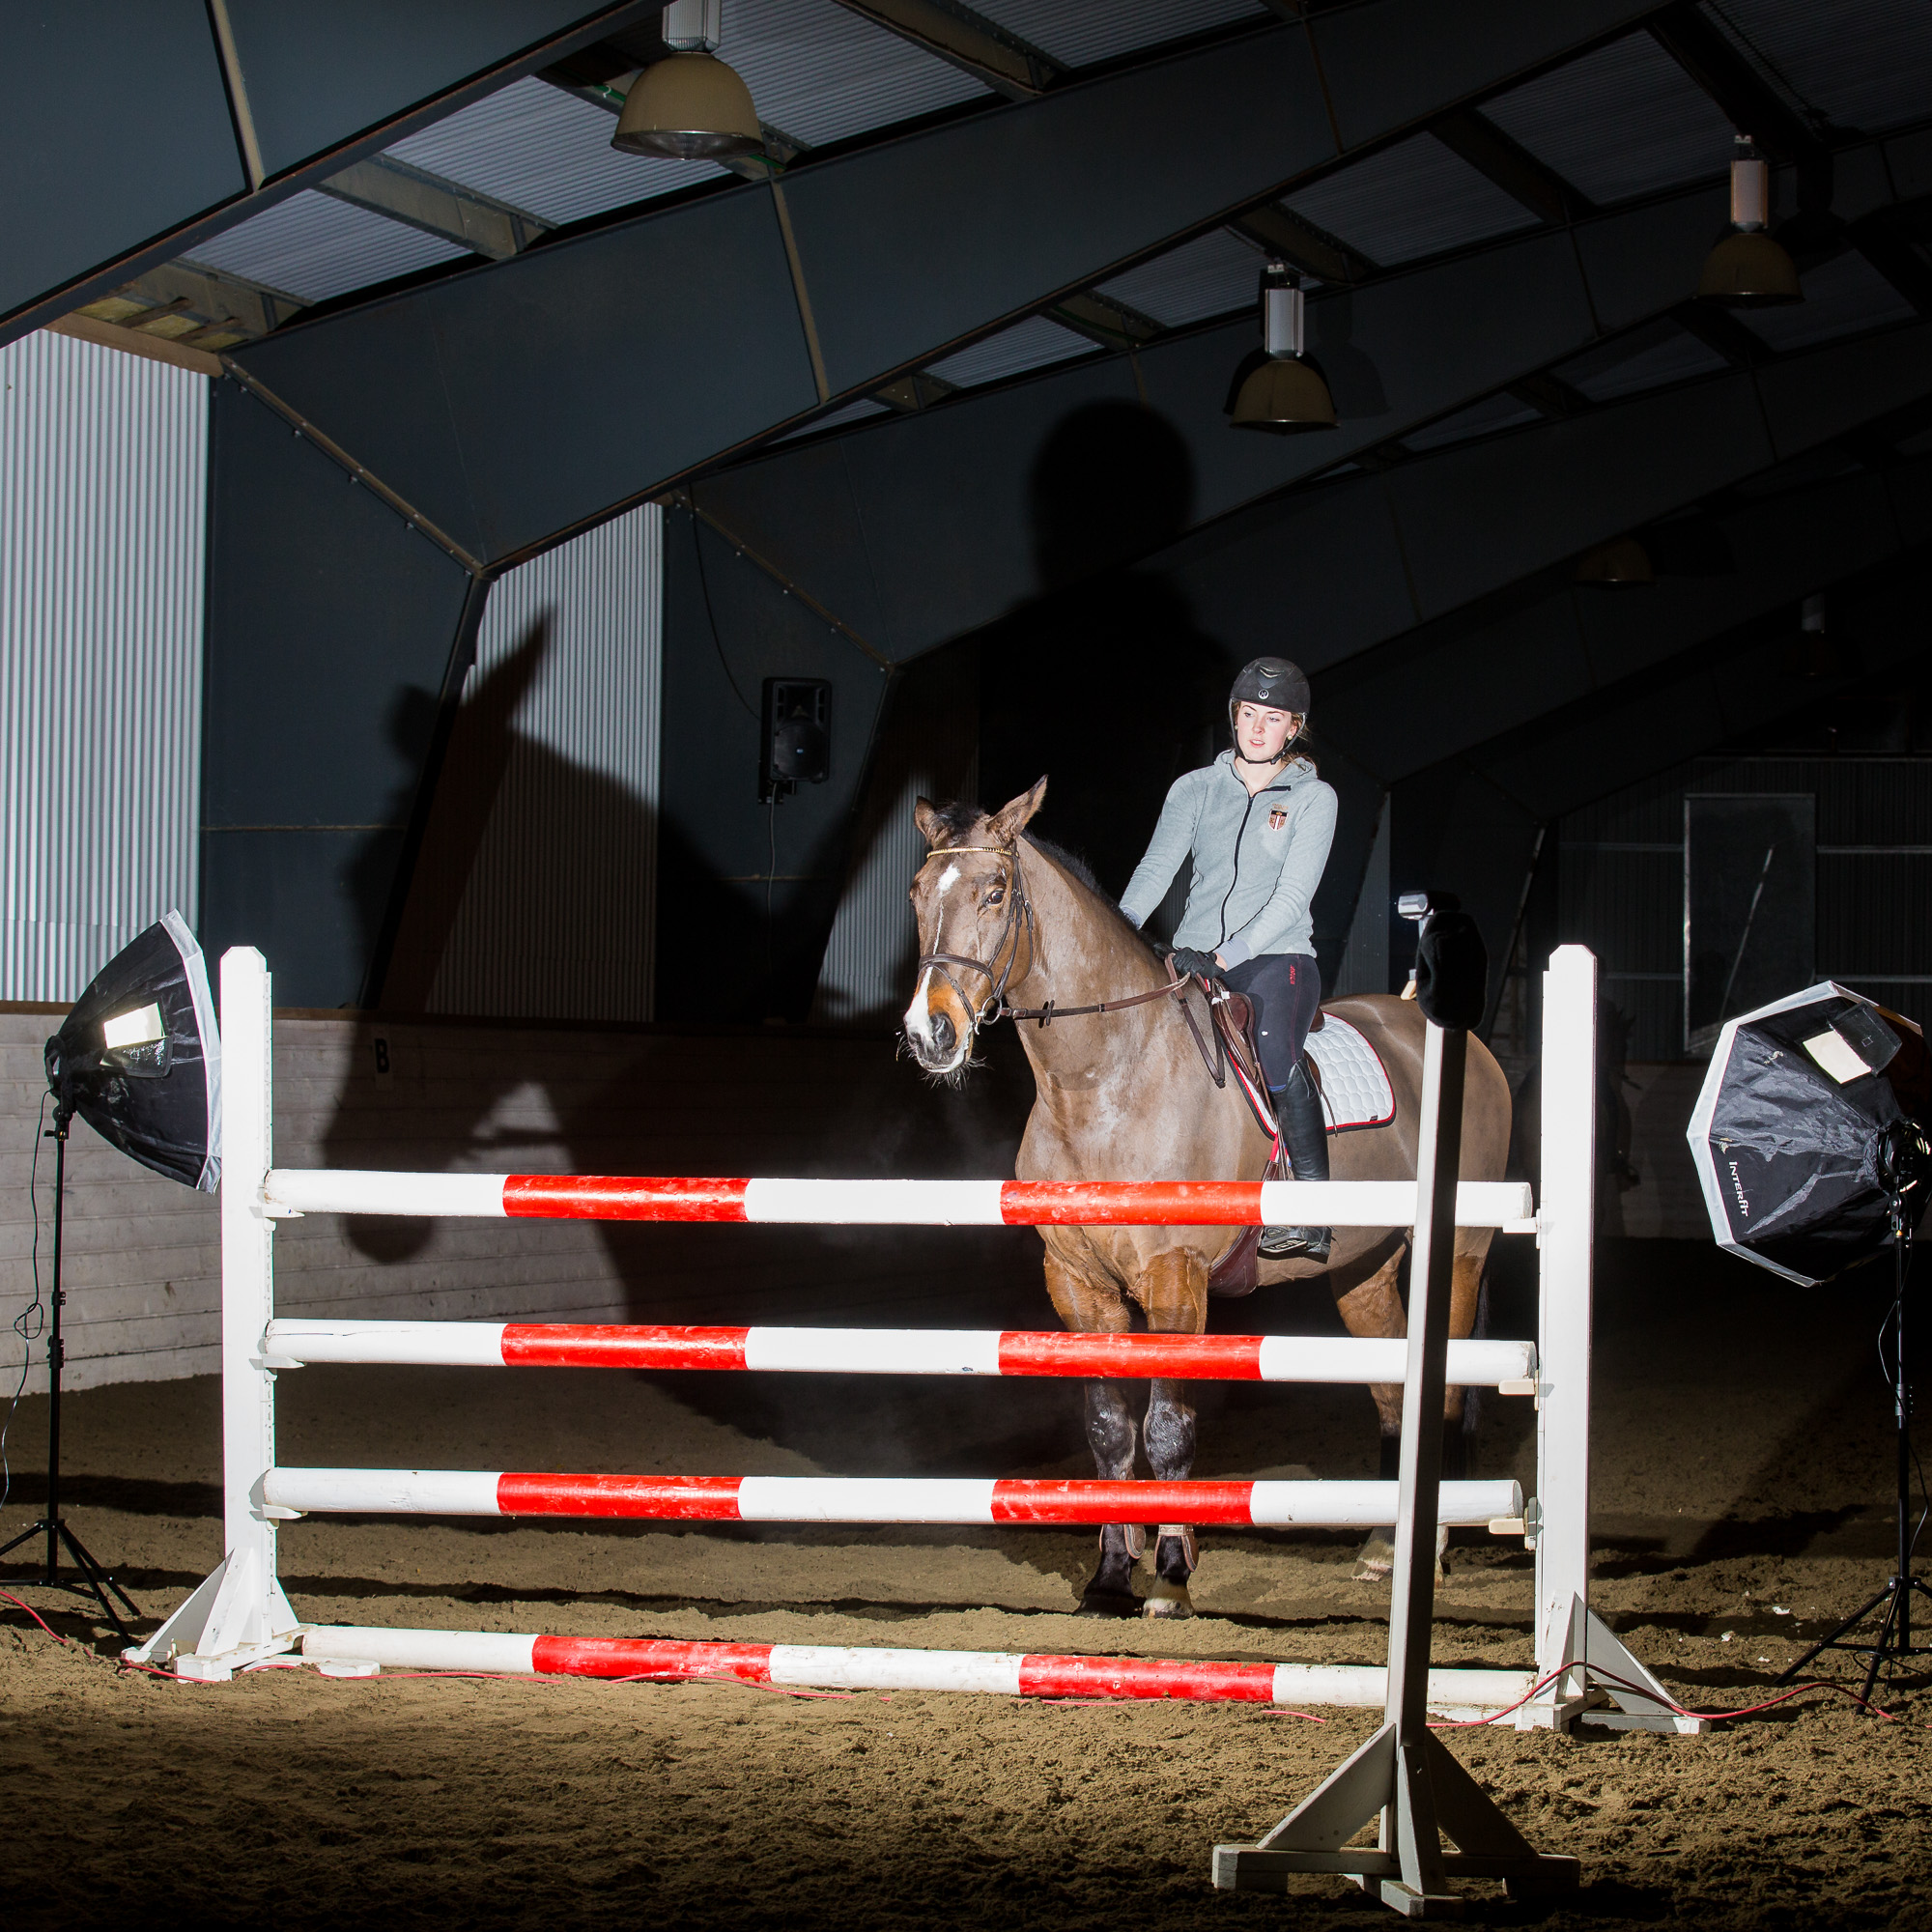
Then we could start working with the fence. It took quite a few jumps to get the timing right.
A bit too early
But in the end, we managed to make some pretty good predictions
Timing is everything
All in all, it was a great session where I learned a lot. So now I am ready to take it to the next level…
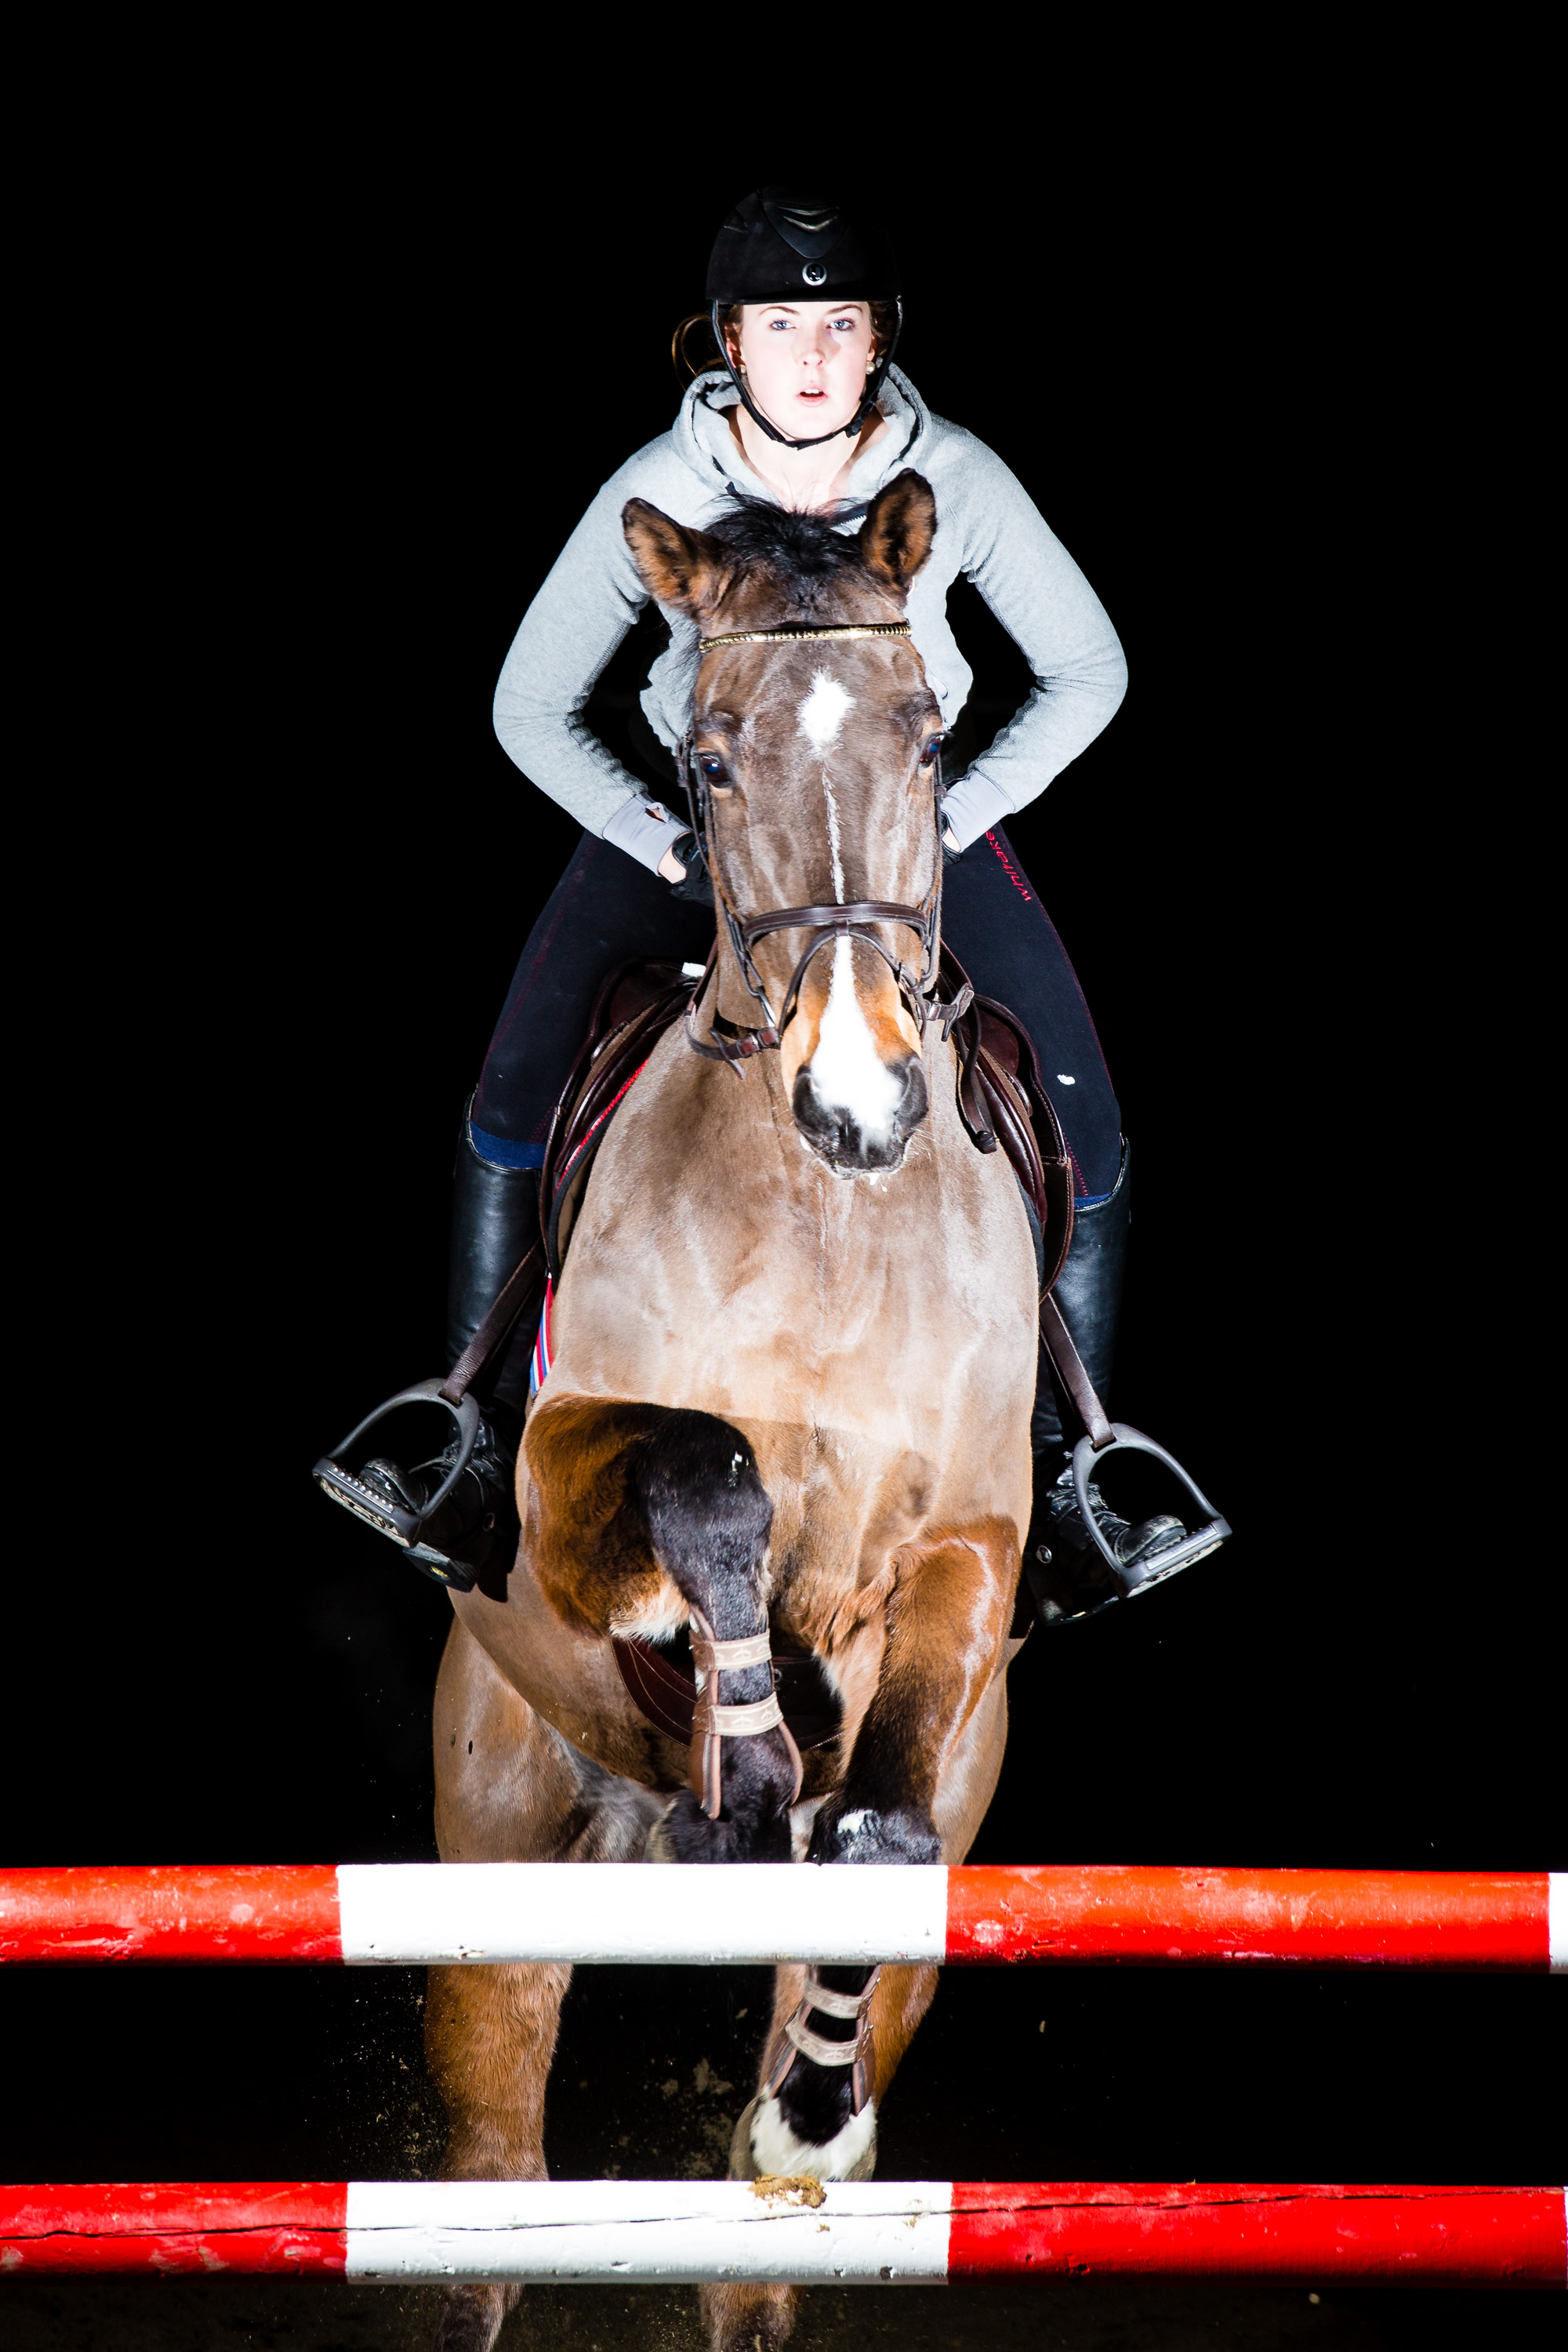
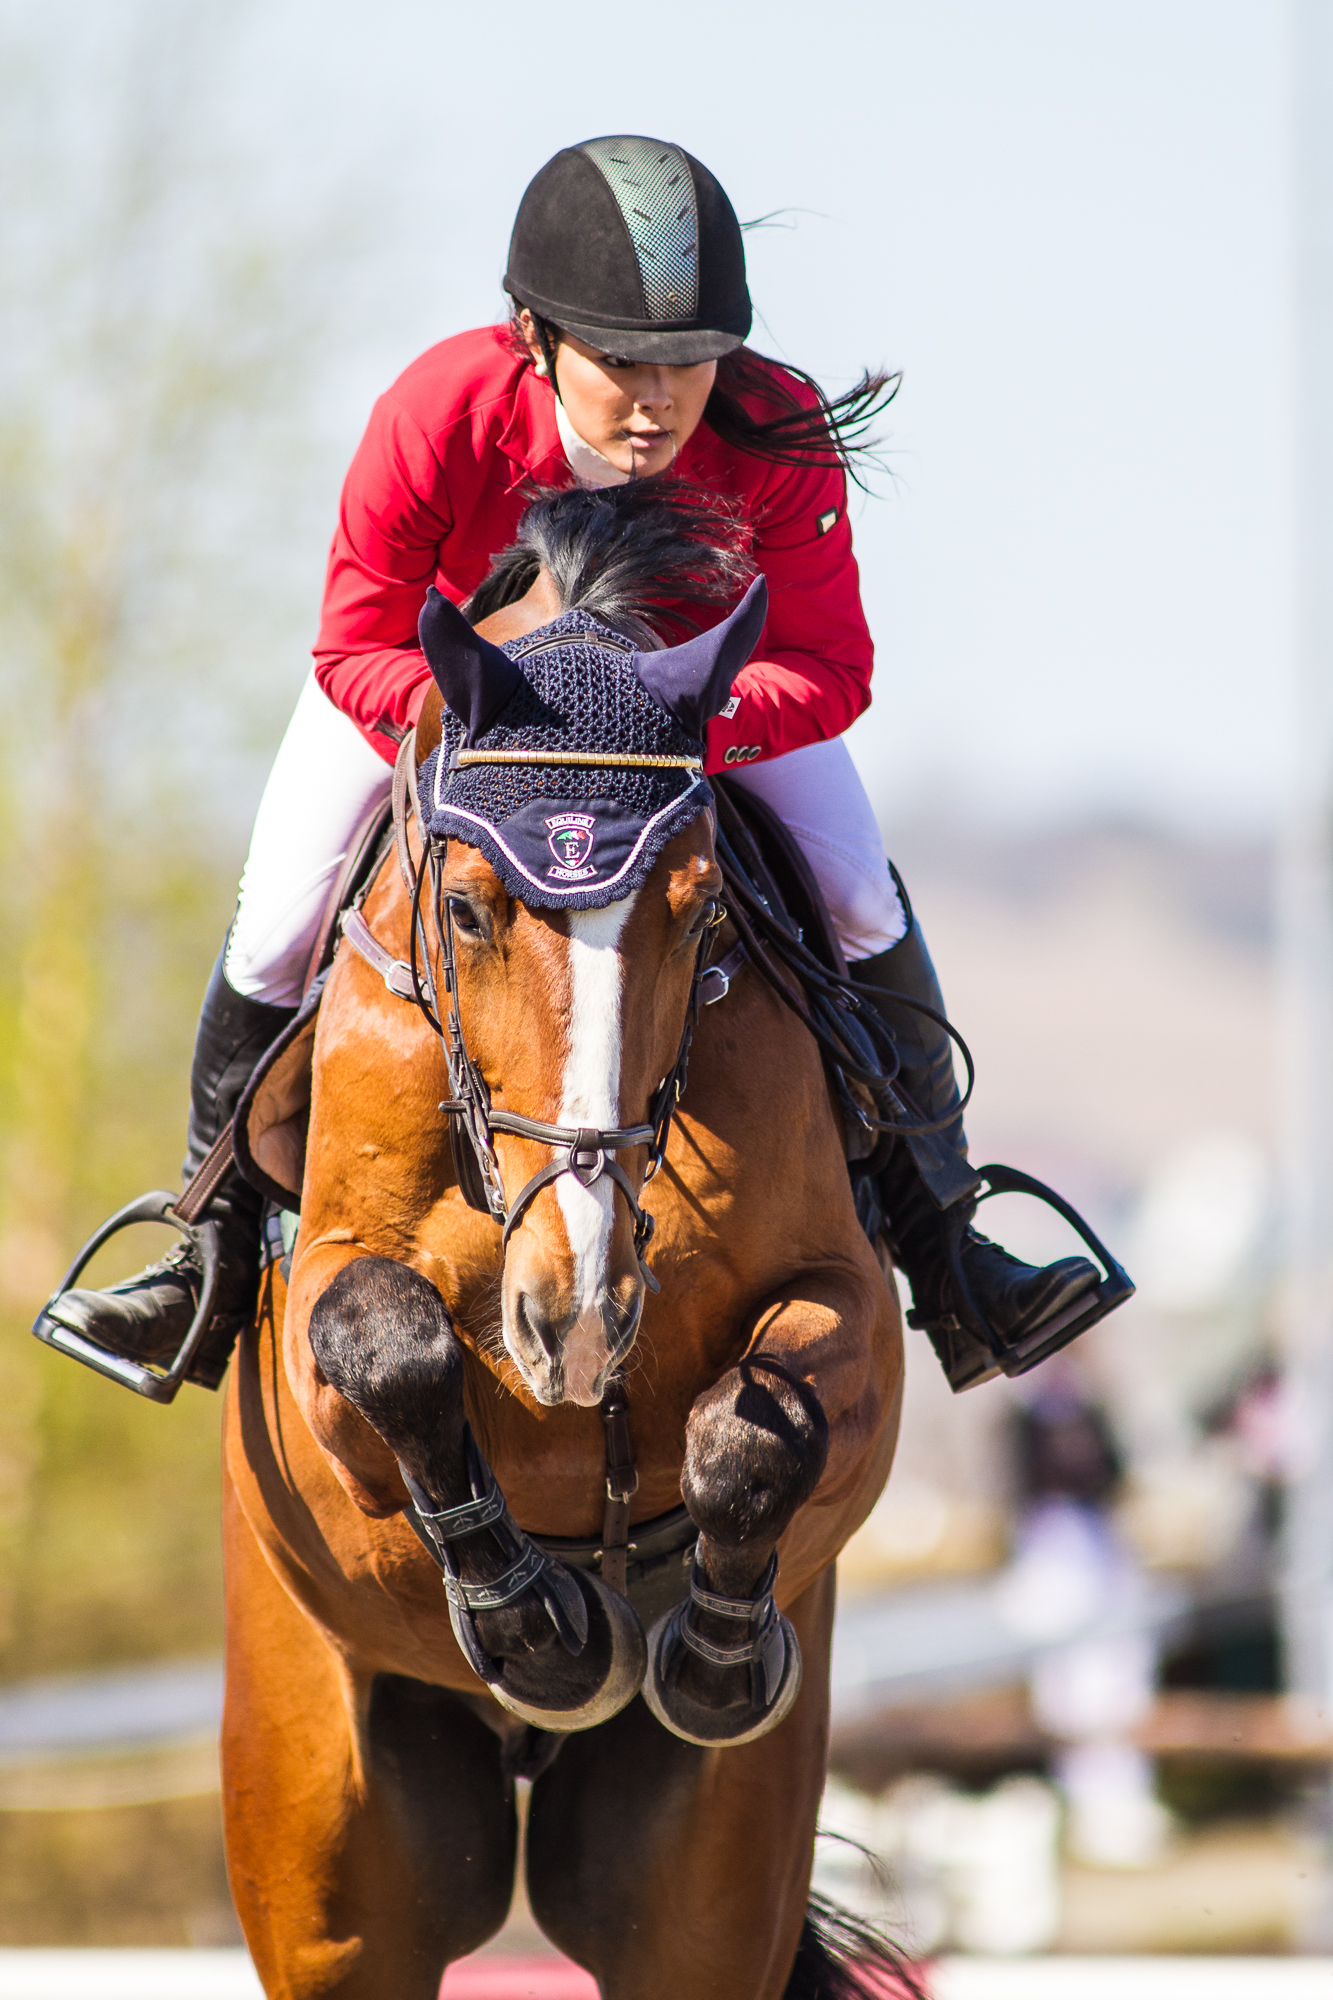
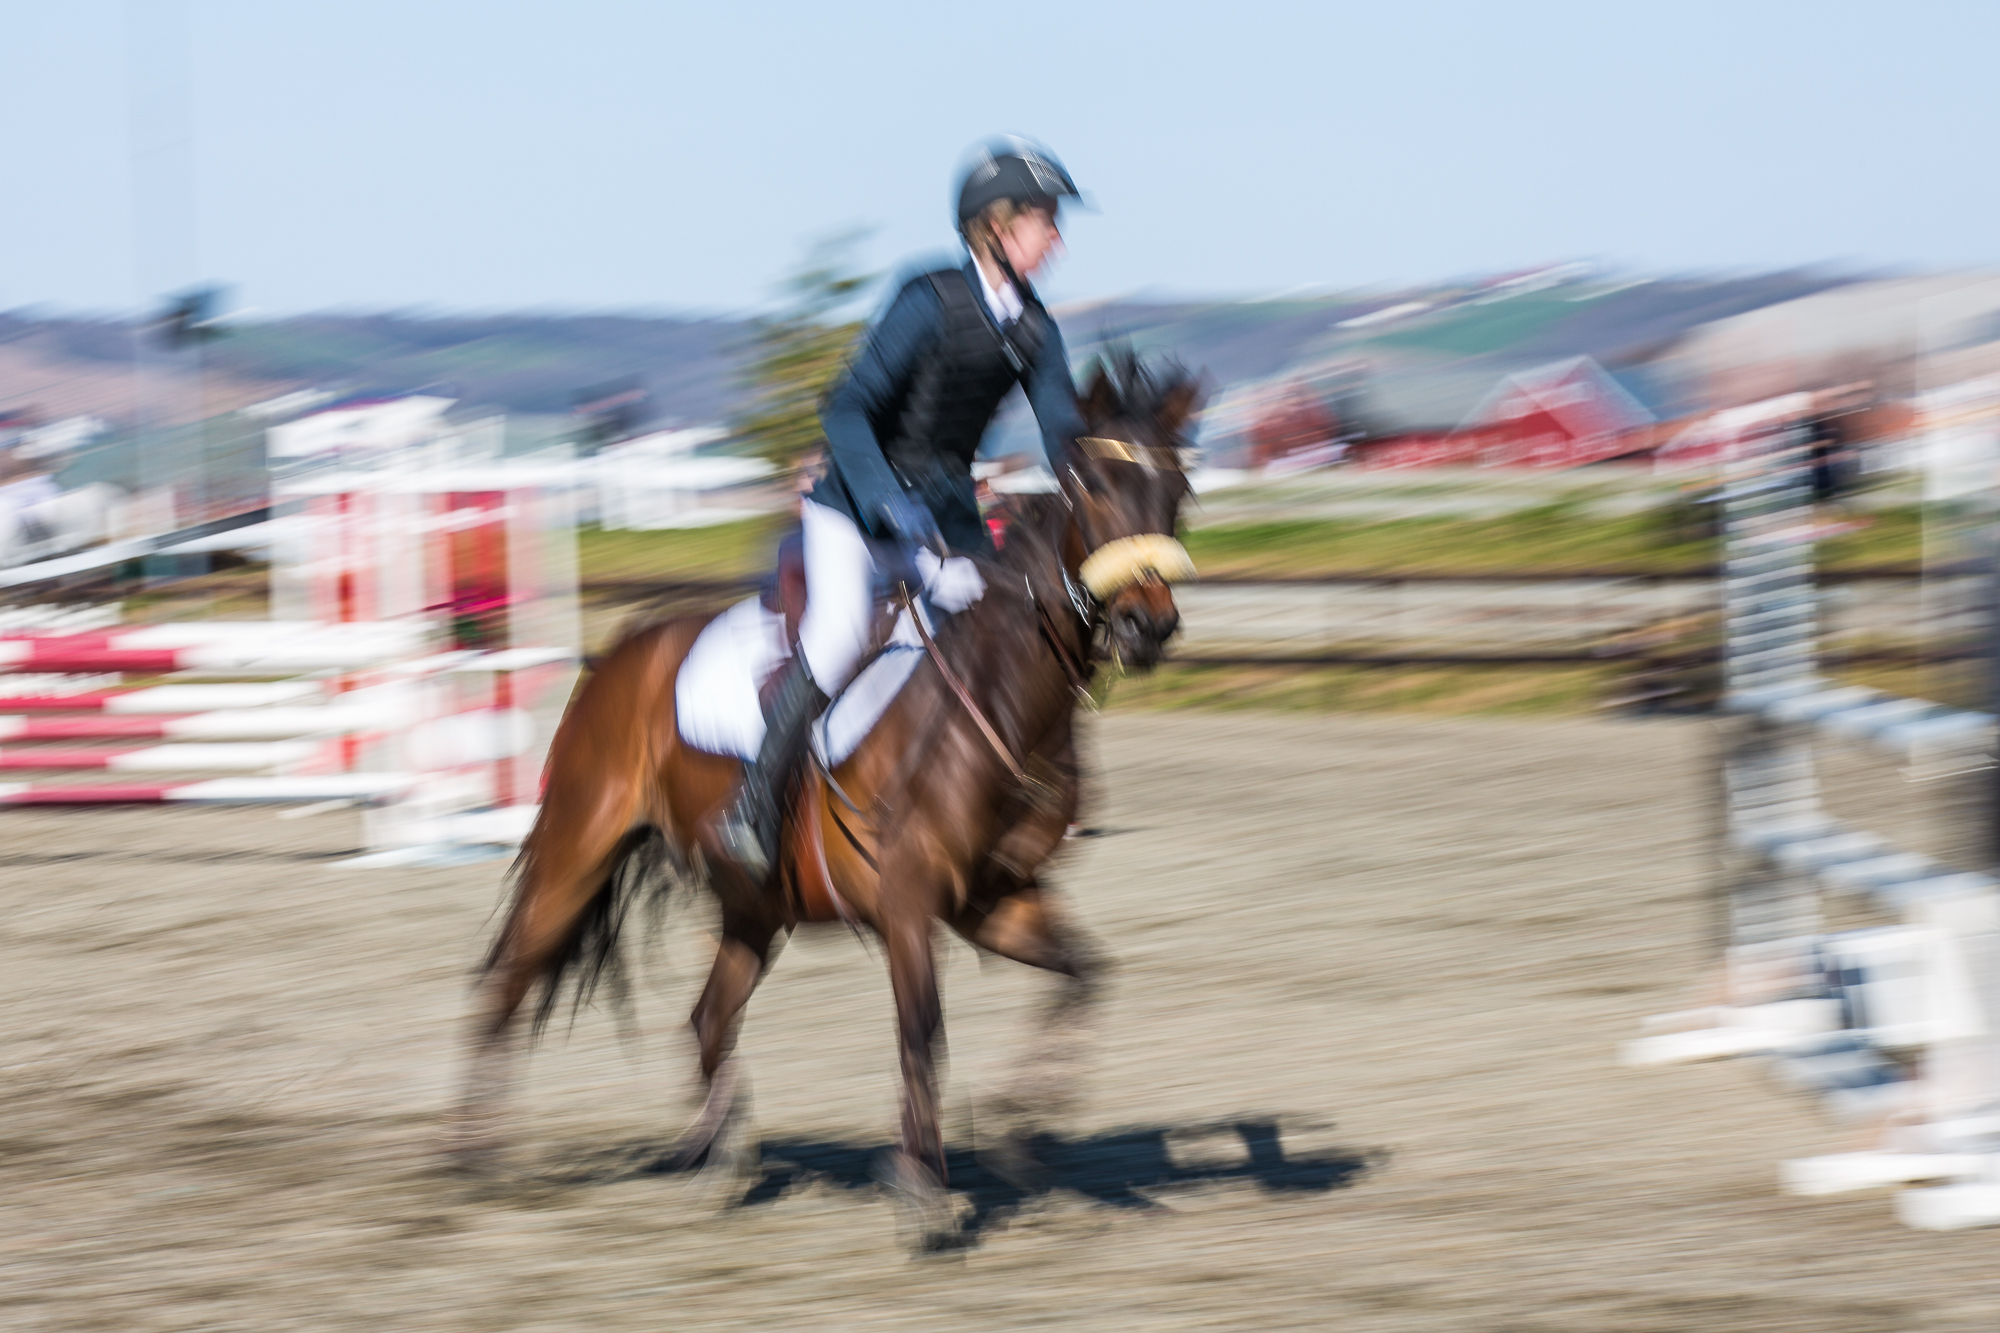
Yesterday I was at the Hestehoven (coltsfoot) show jumping event nearby. Having taken thousands of show jumping photos over the year, I felt it was time to learn something new.
A young rider turning into the next fenceJumping over the fence
Although I have always been satisfied with these kind of photos, and especially their clarity, I wanted to start taking other photos that conveyed the speed and intensity og show jumping. I had wanted to try panning for a while, and finally got the opportunity.
Panning, if done wrong, just gives a blurry picture. And I had a lot of those…
Blurry photo – just looks like a photo with too long shutter time.
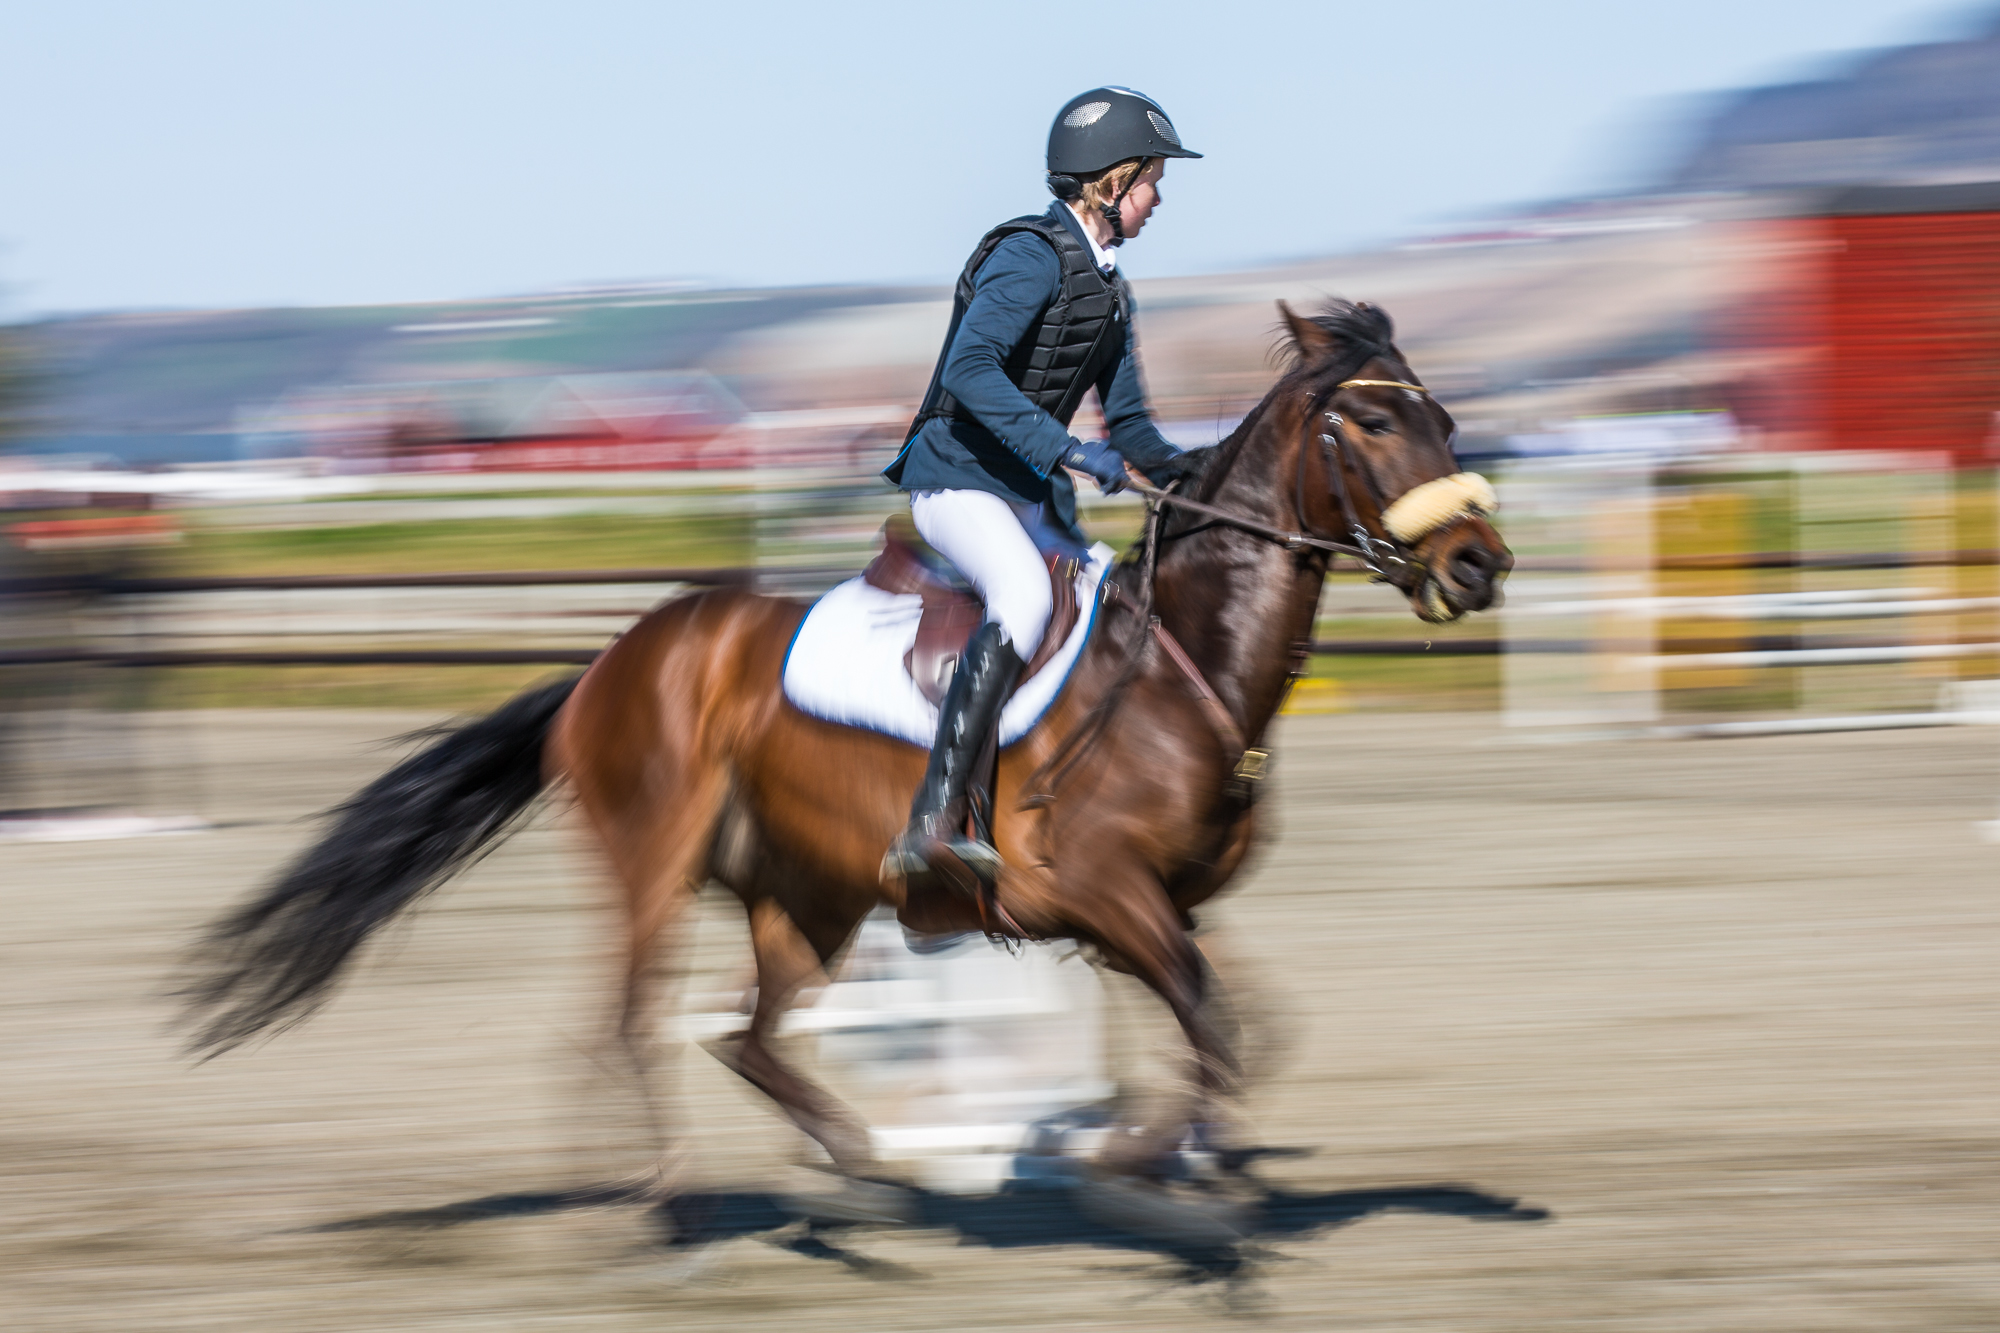
But if done right, some parts of the photo is clear (typically the main subject) and the rest is blurry. With cars or boats, getting the movement right is not that challenging… The challenge comes with getting the head of the rider or horse sharp while they are moving erratically across the field…
After a lot of practice, I started to get the hang of it:
Panning done properly. The rider is sharp, but the rest of the photo is blurry to convey movement
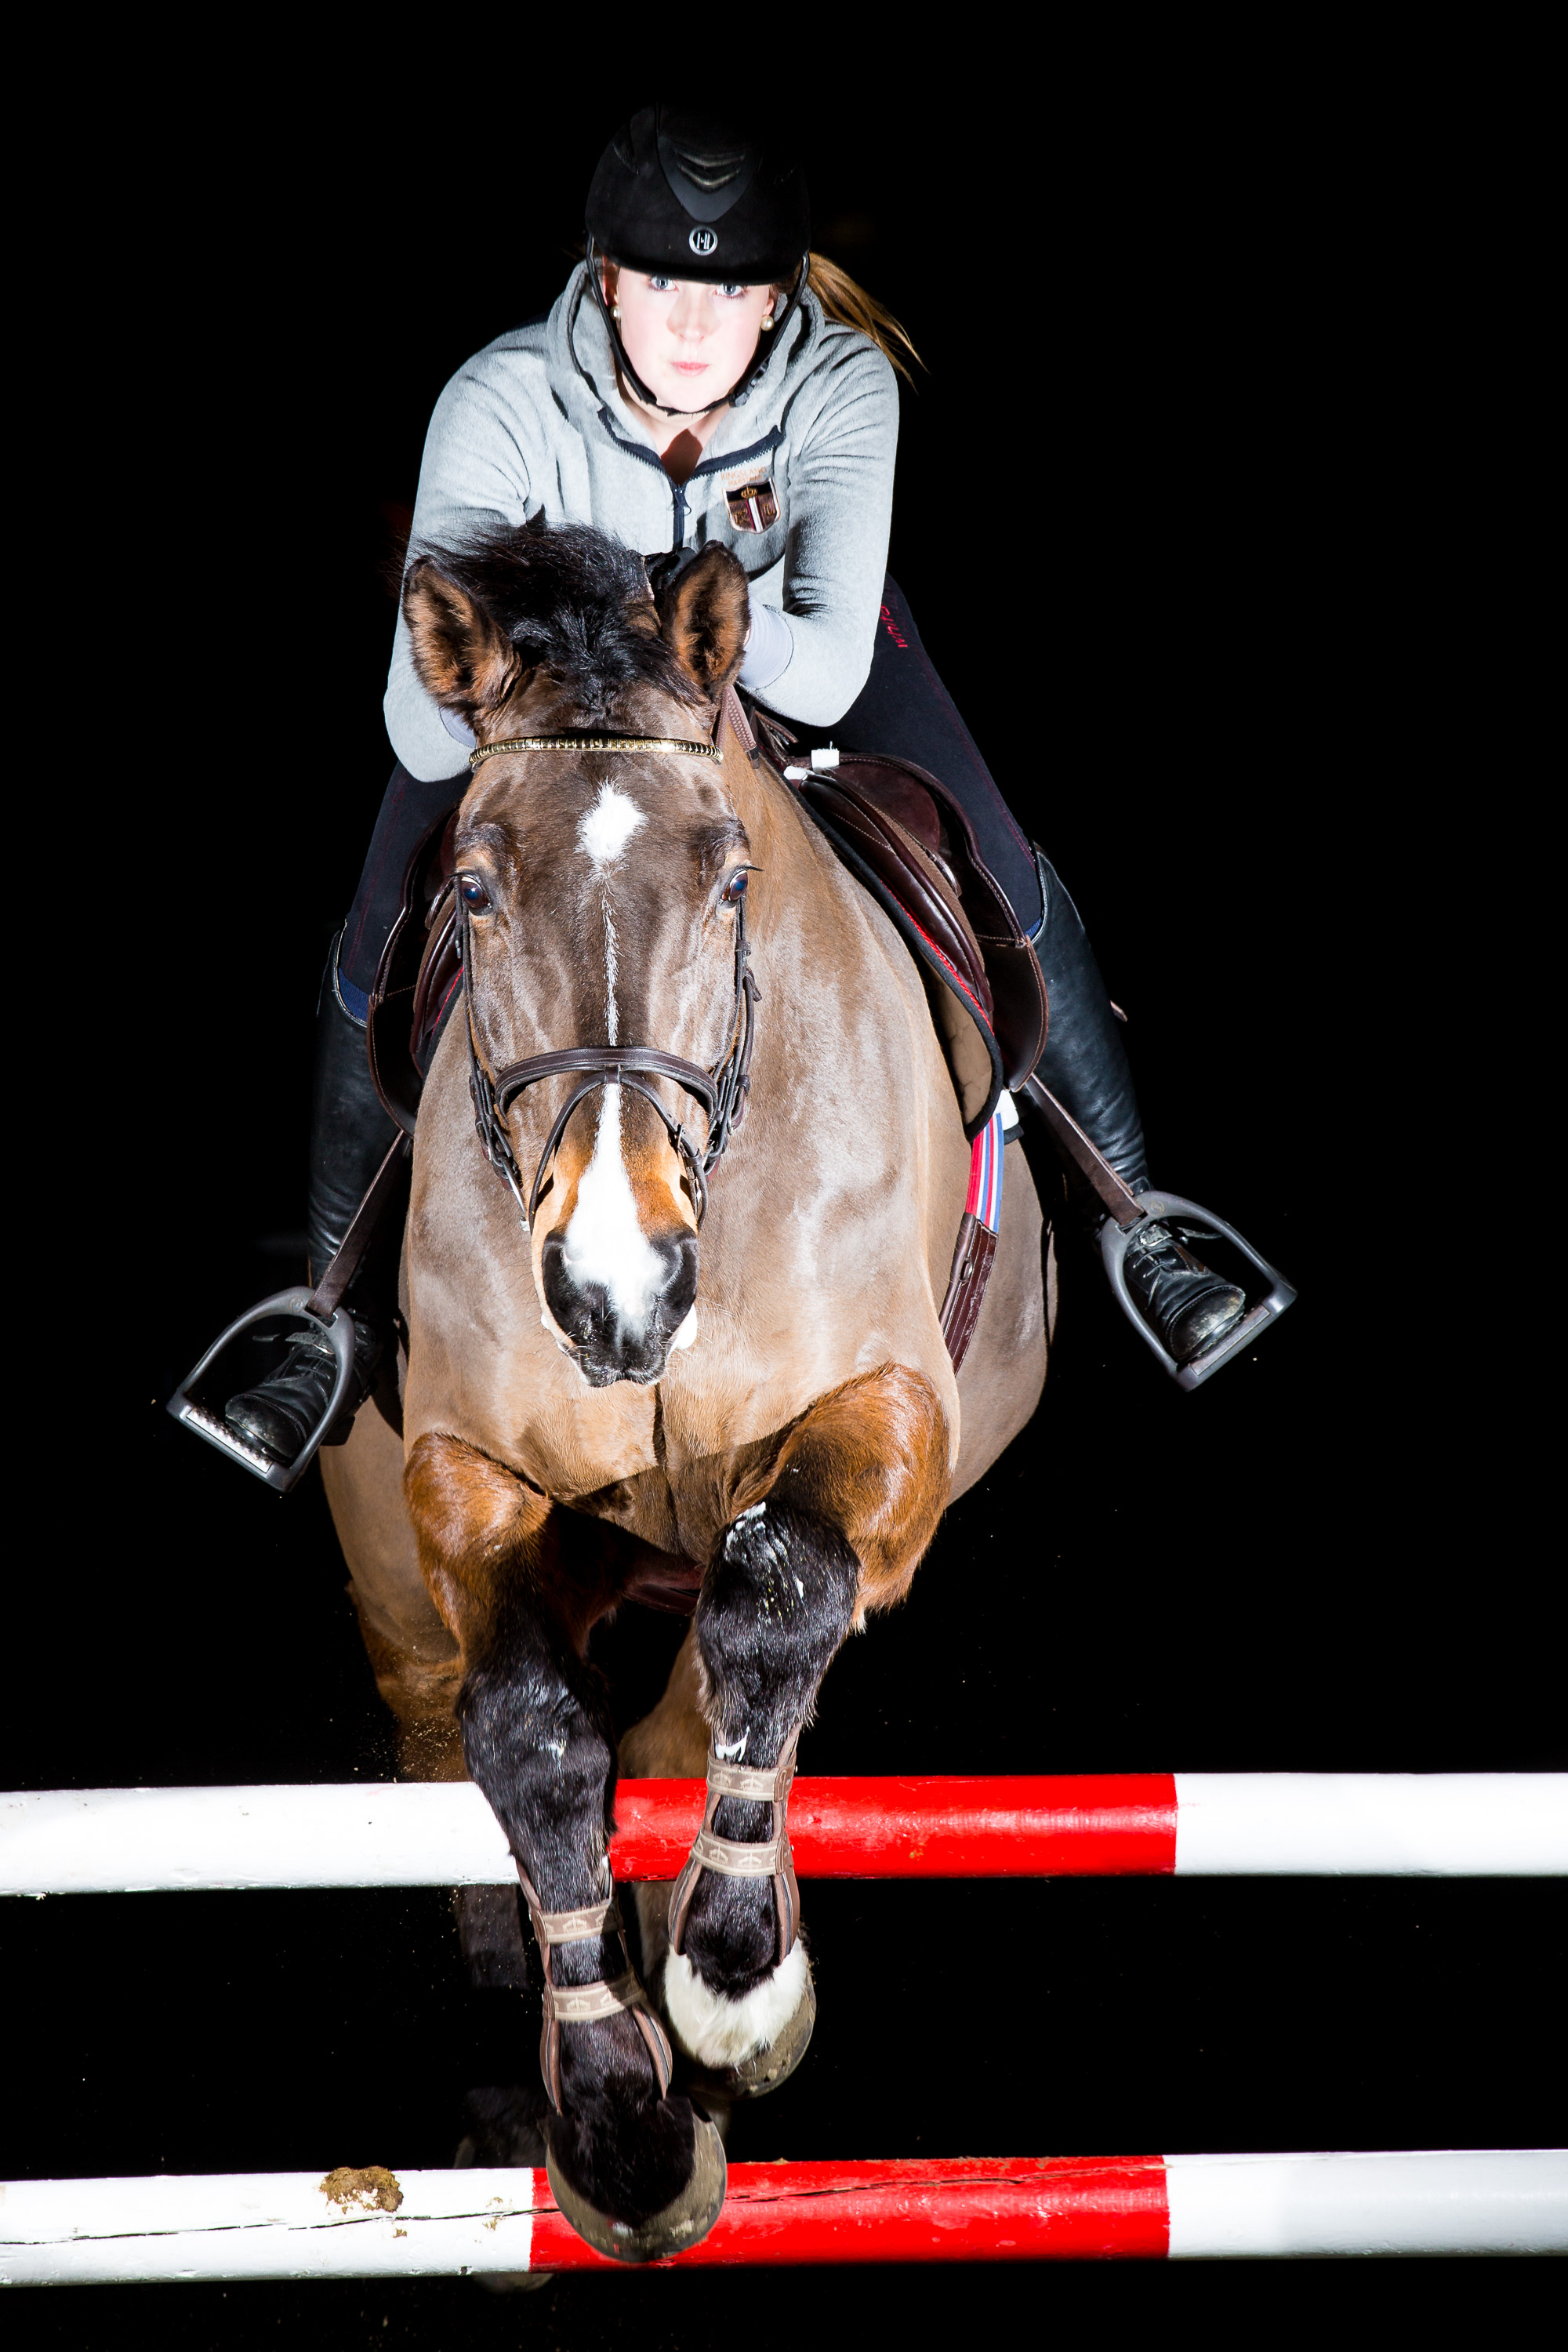
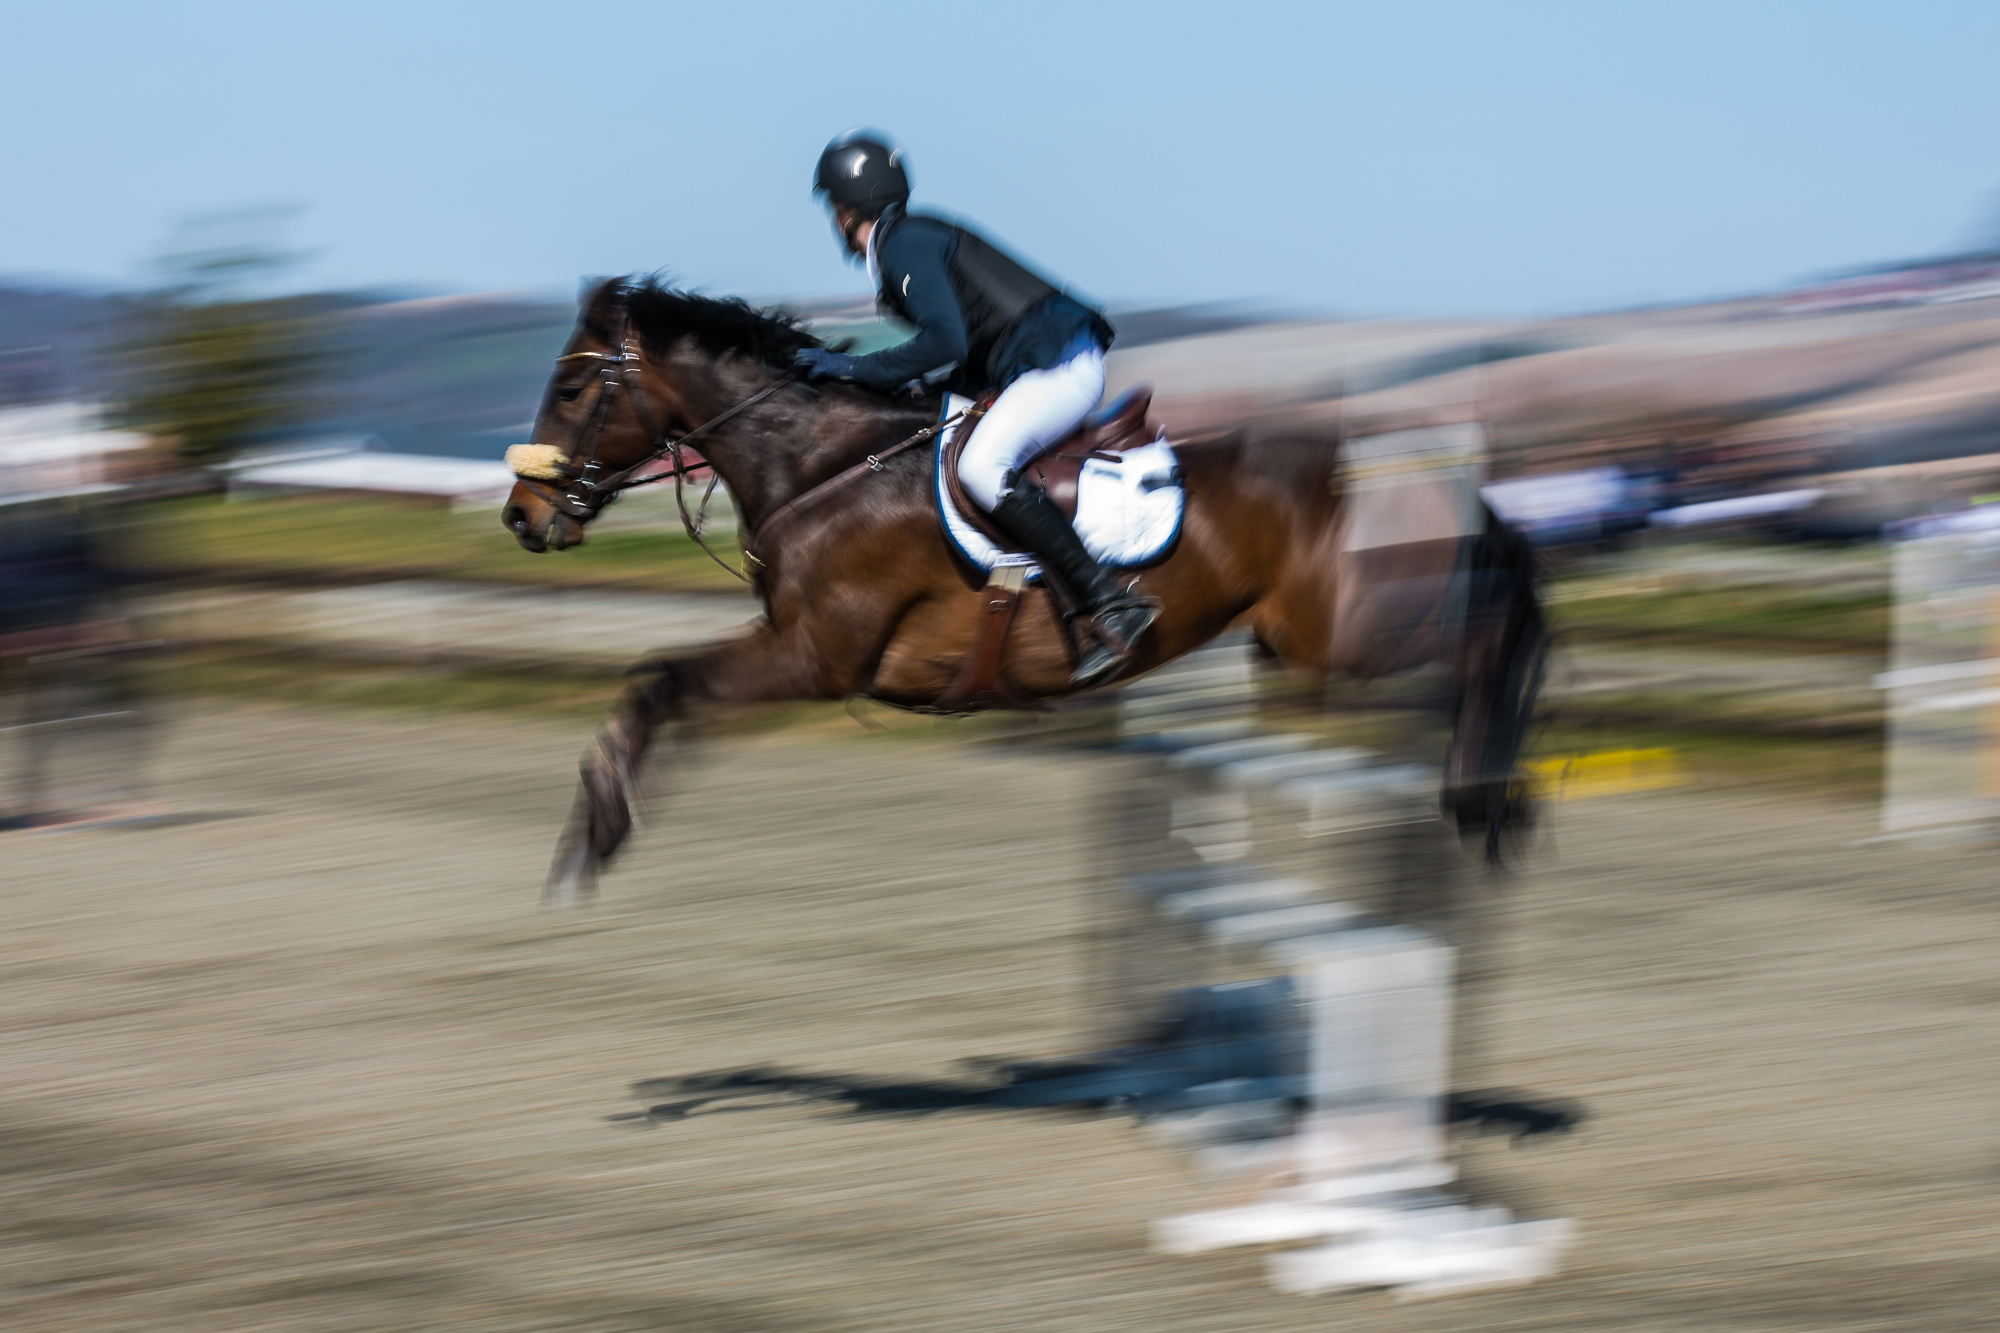
Of course, I had to train on panning over an obstacle as well. That proved even more difficult:
Another photo of a rider that is just blurry….
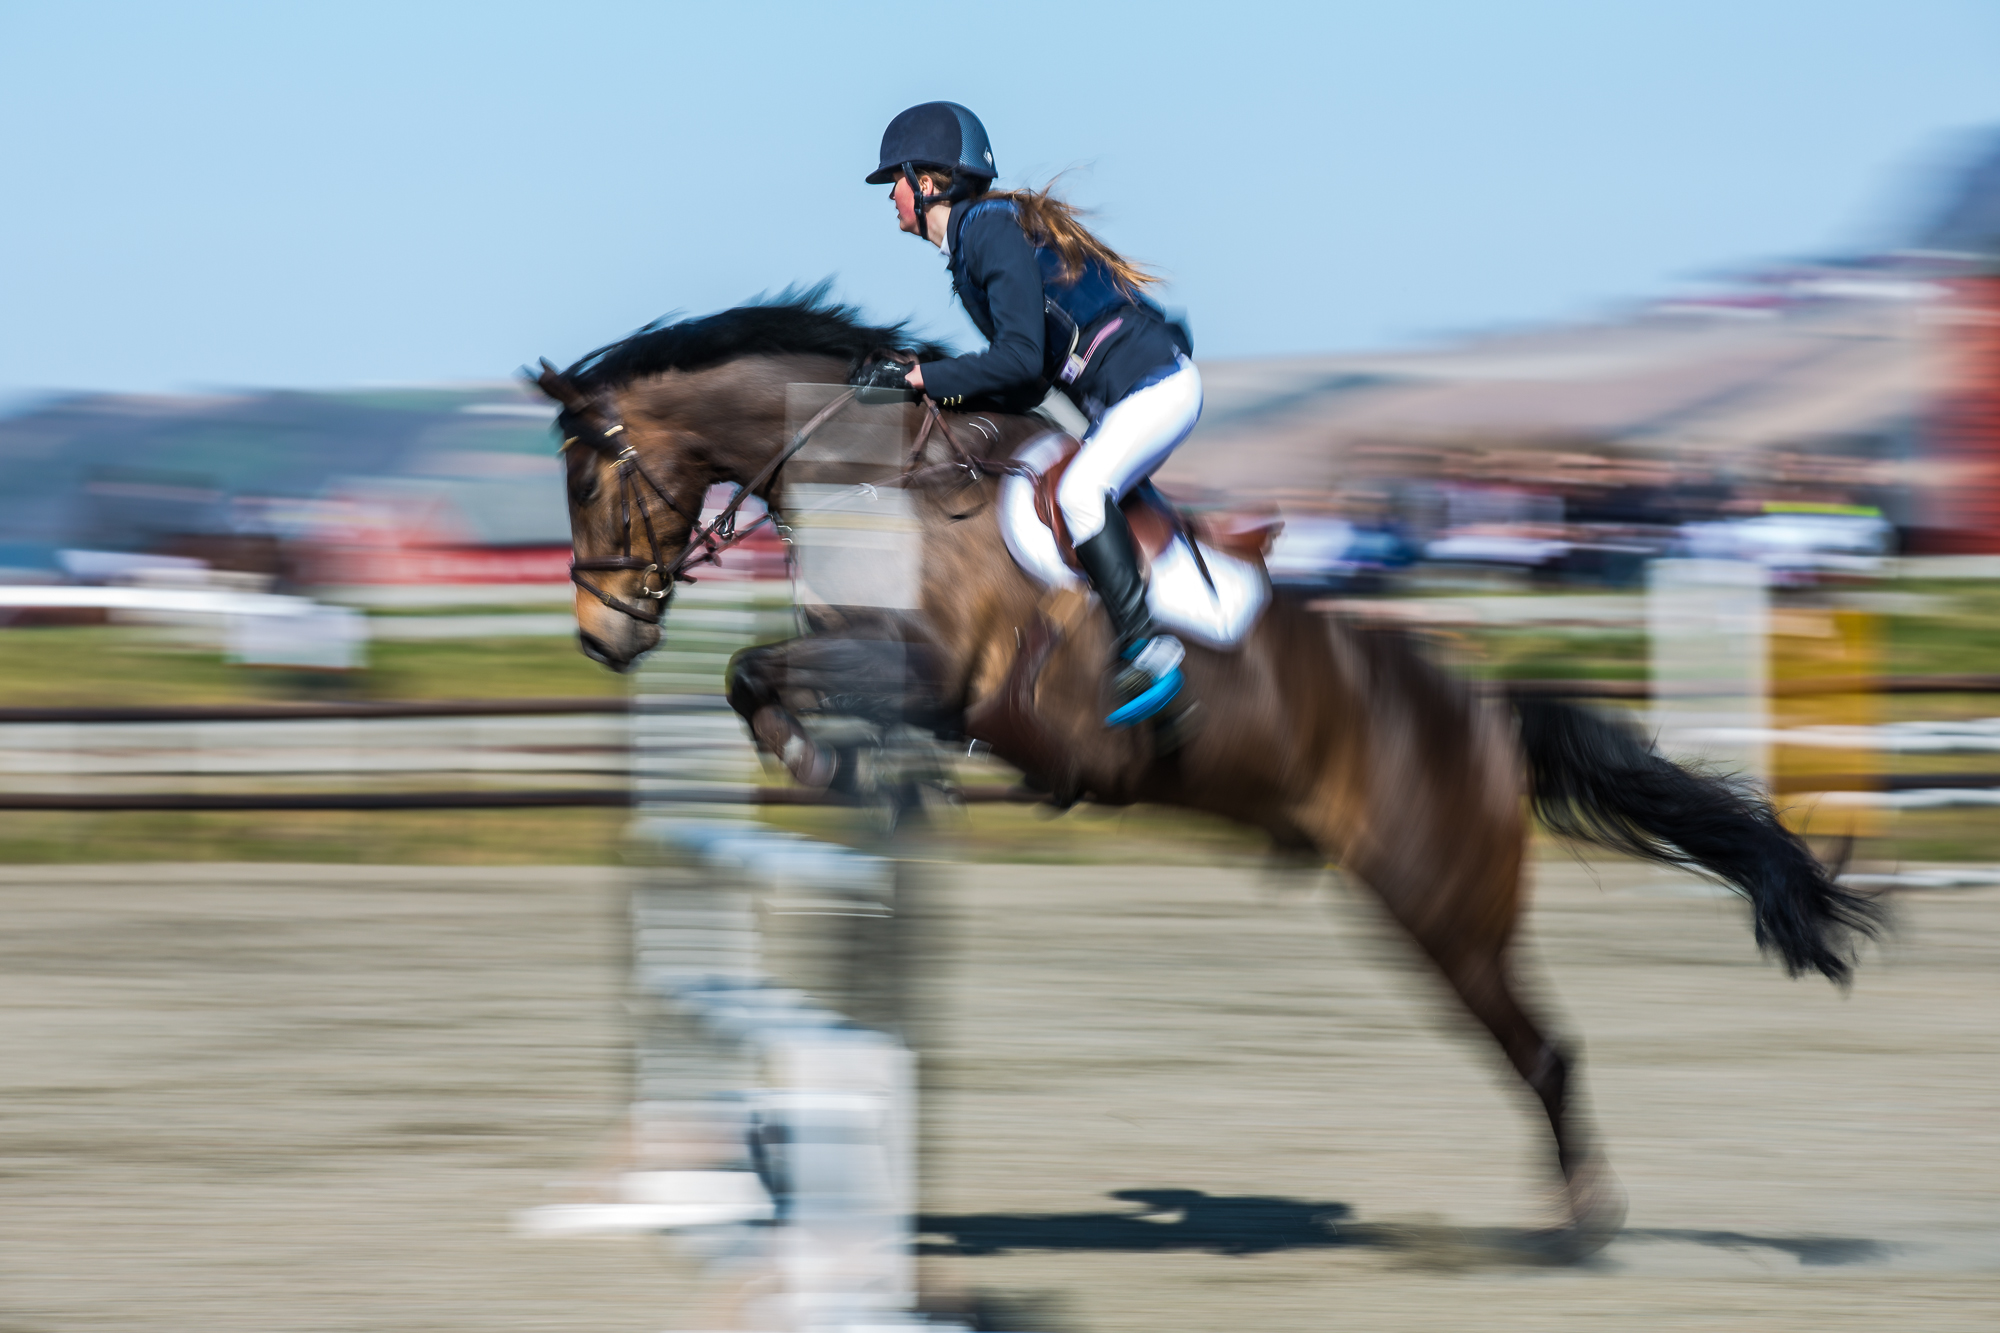
After some practice, I started to get the hang of it.
Panning done properly. The head of the rider is sharp, but the rest is blurry
It was a fun day at the event, but I notice that my “hit ratio” (the rate of acceptable photos against total photos) dropped from 1 in 5 to 1 in 100. So I guess I need to train more…
The rest of the photos from Hestehoven are found on my Flickr page
Just outside Trondheim lies a small farm called Holstvollen. It has been abandoned for some time, and although it is sad to see the farm in its current conditions, the dereliction gives a lot of photographic opportunities.
One of my sad photographic habits is to put a lens on the camera and stay with it, so when I headed to Holstvollen as part of a workshop (same workshop as my unexpected cricket and mud walking posts are from) I set myself the goal of using all the lenses I had in my bag.
First I started out using my 24mm f/1.4. I really like this lens for its shallow depth of field, something that is hard to get on a normal wide angle (such as a 17-40 f/4 or a 16-35 f/2.8). The contrast between the flowers in the foreground and the decaying bench and wall in the background piqued my interest, and after some work I managed to find a satisfying composition.
Decay and renewal – Canon 24mm f/1.4 wide open
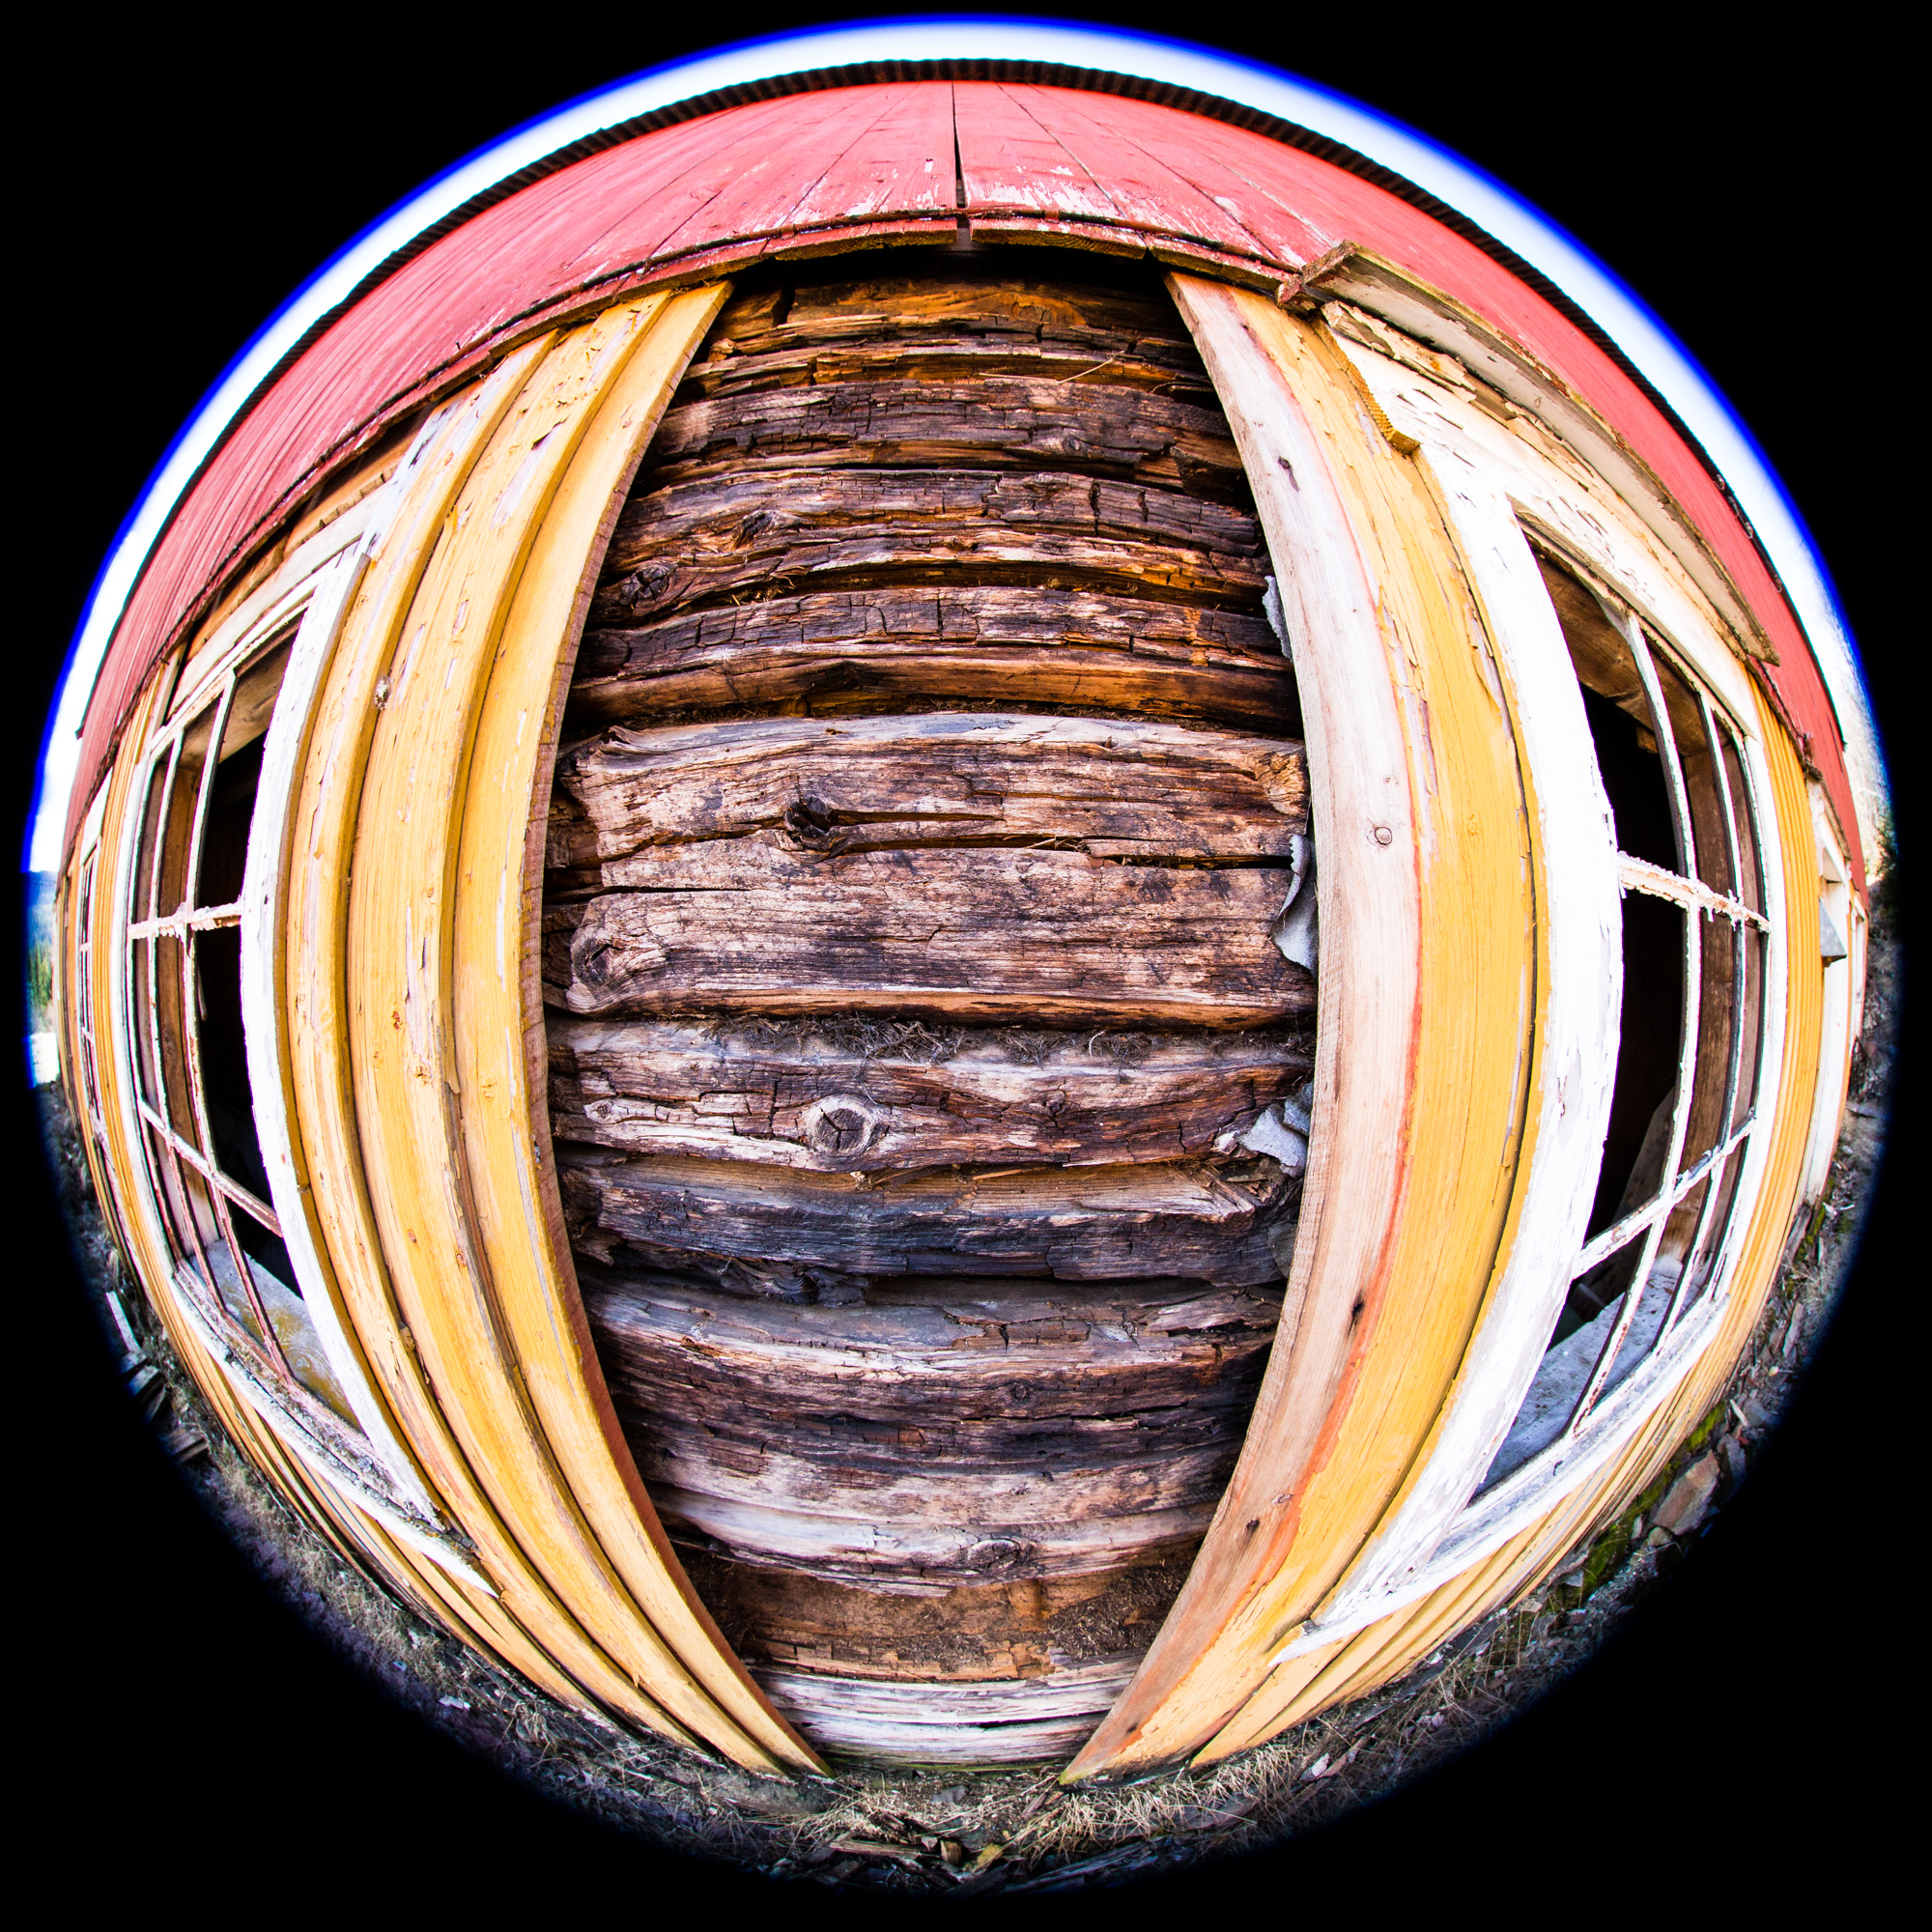
The next lens I picked out from my bag was the Canon 8-15 mm fish eye. Here I found a part of an old wall that looked exactly like a snake eye or alternately two windows giving birth to a wall section…
The snake eye – Canon 8-15mm f/4 at 8mm
Note how you can see the entire wall in the photo (both ground and sky as well as both corners…)
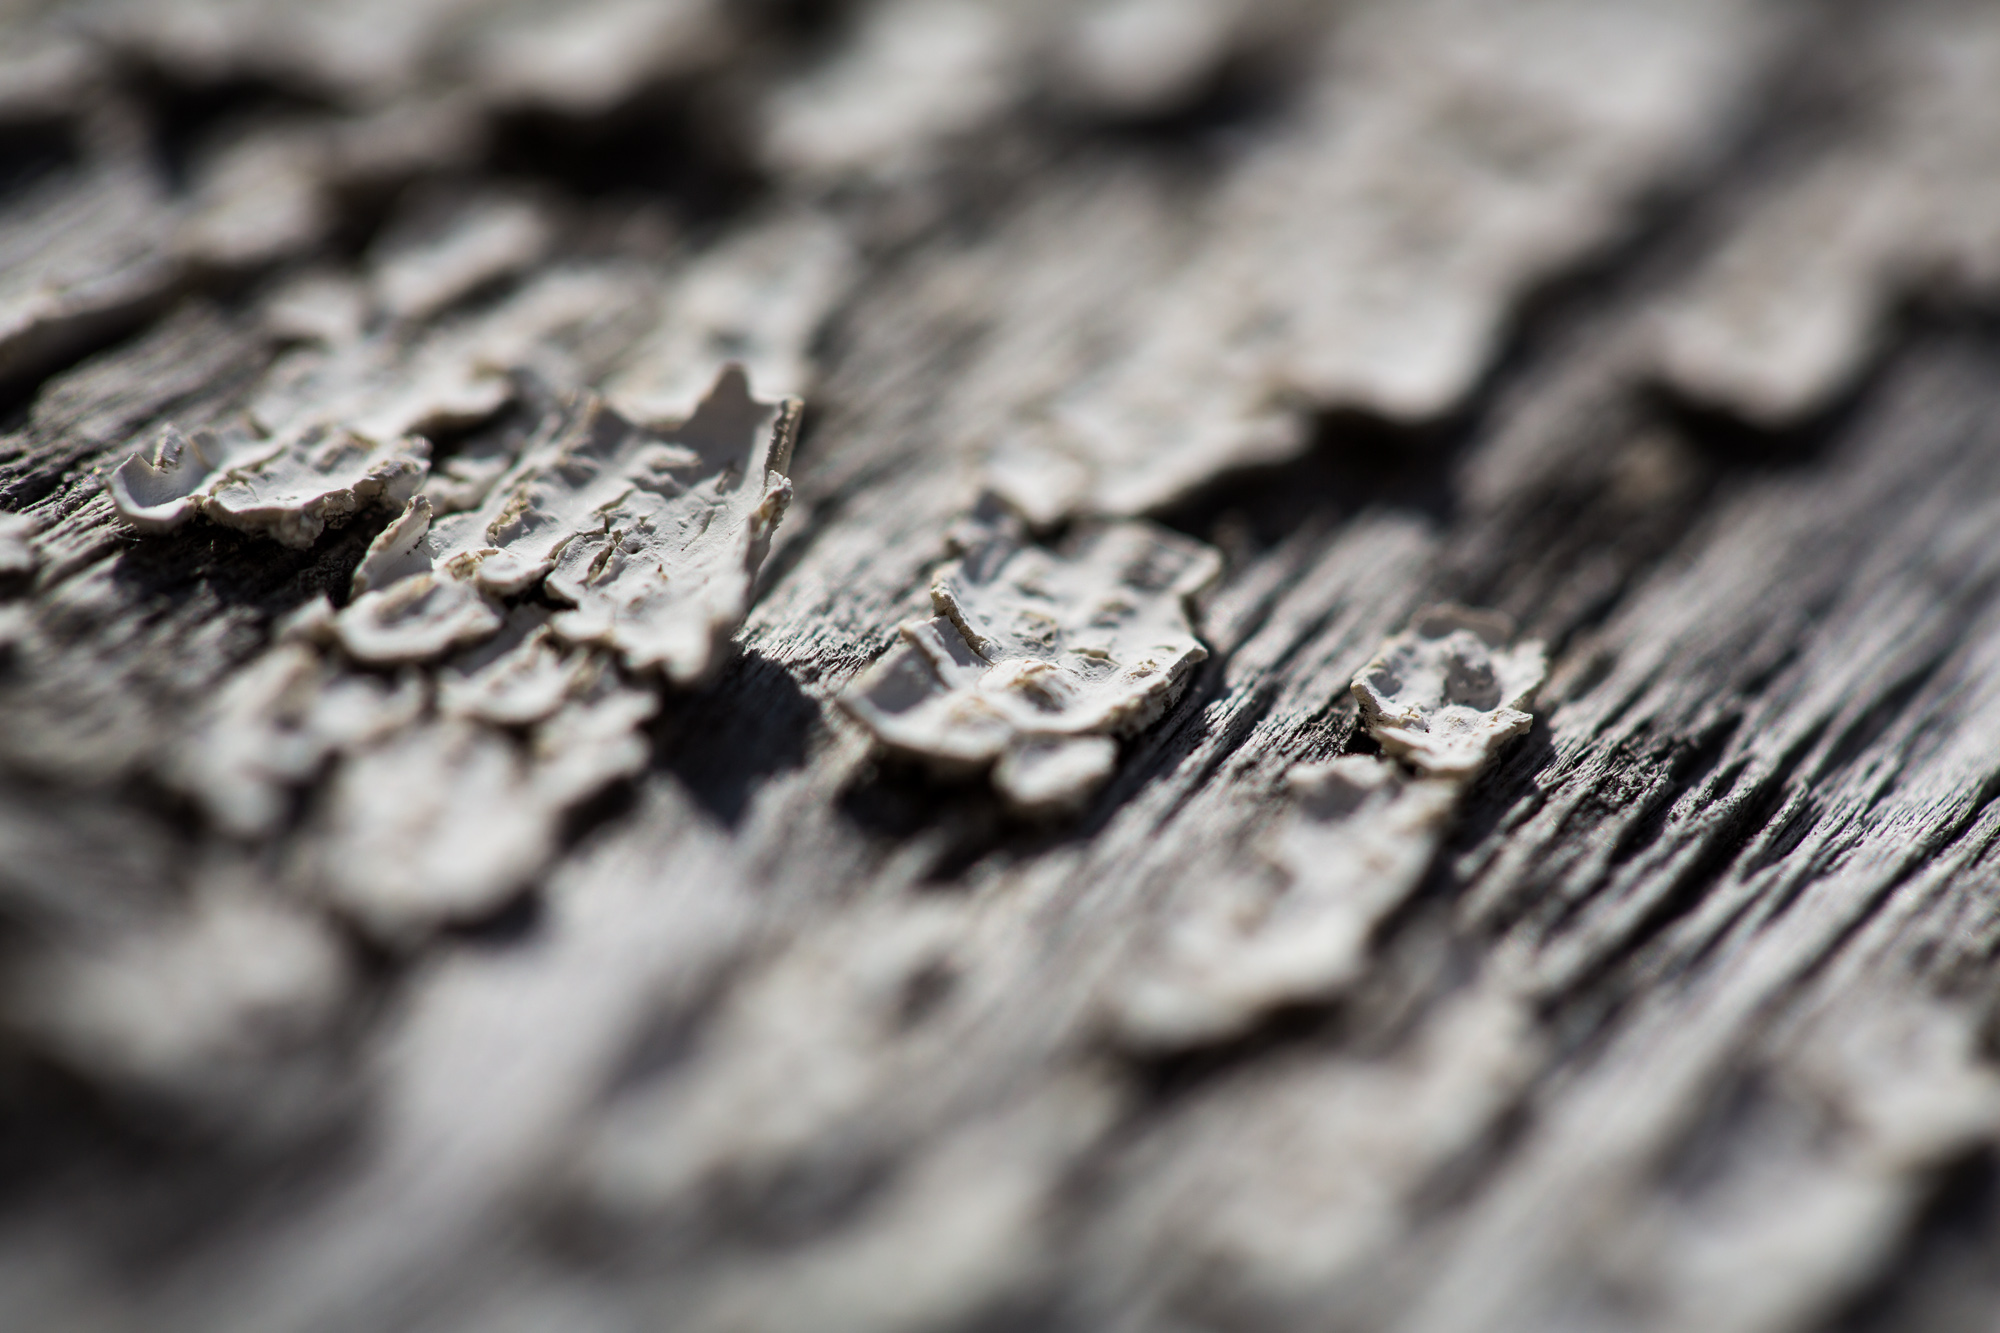
Another fascinating wall was found in a portal, where the abandoned dirt made for intriguing patterns…
Abandoned dirt – Canon 8-15mm at 8 mm
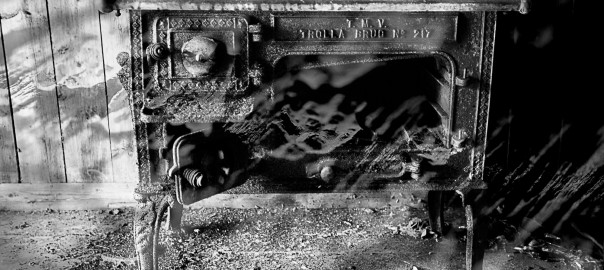
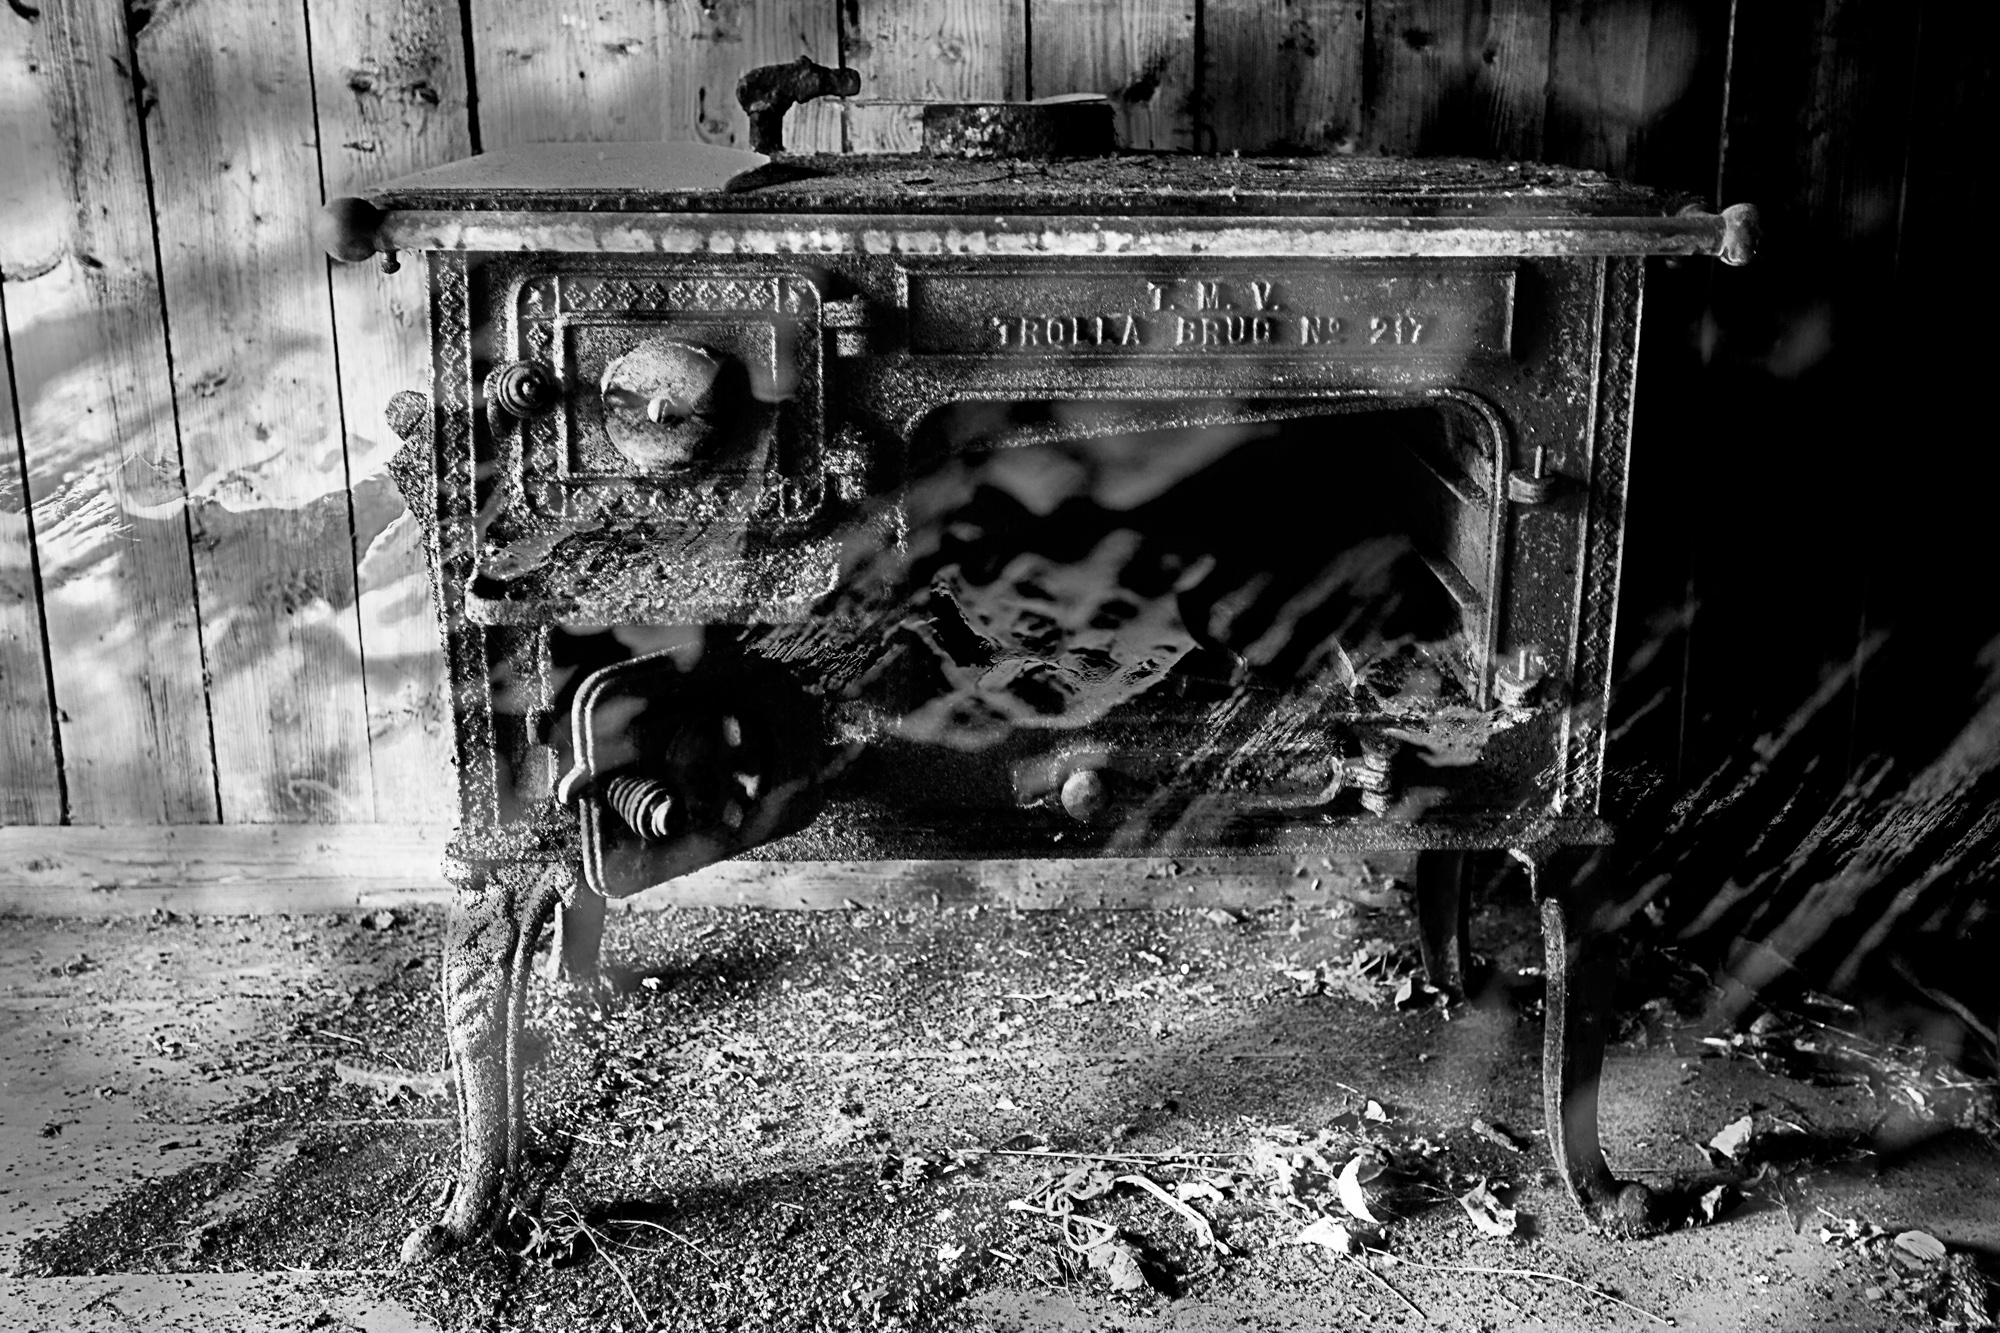
As with the previous photos from the workshop, some of the photos didn’t really come through until in post-production. I was able to combine two photos taken with a 17-40 f/4 and a 100mm f/2.8 macro into a rough photo of an abandoned stove.
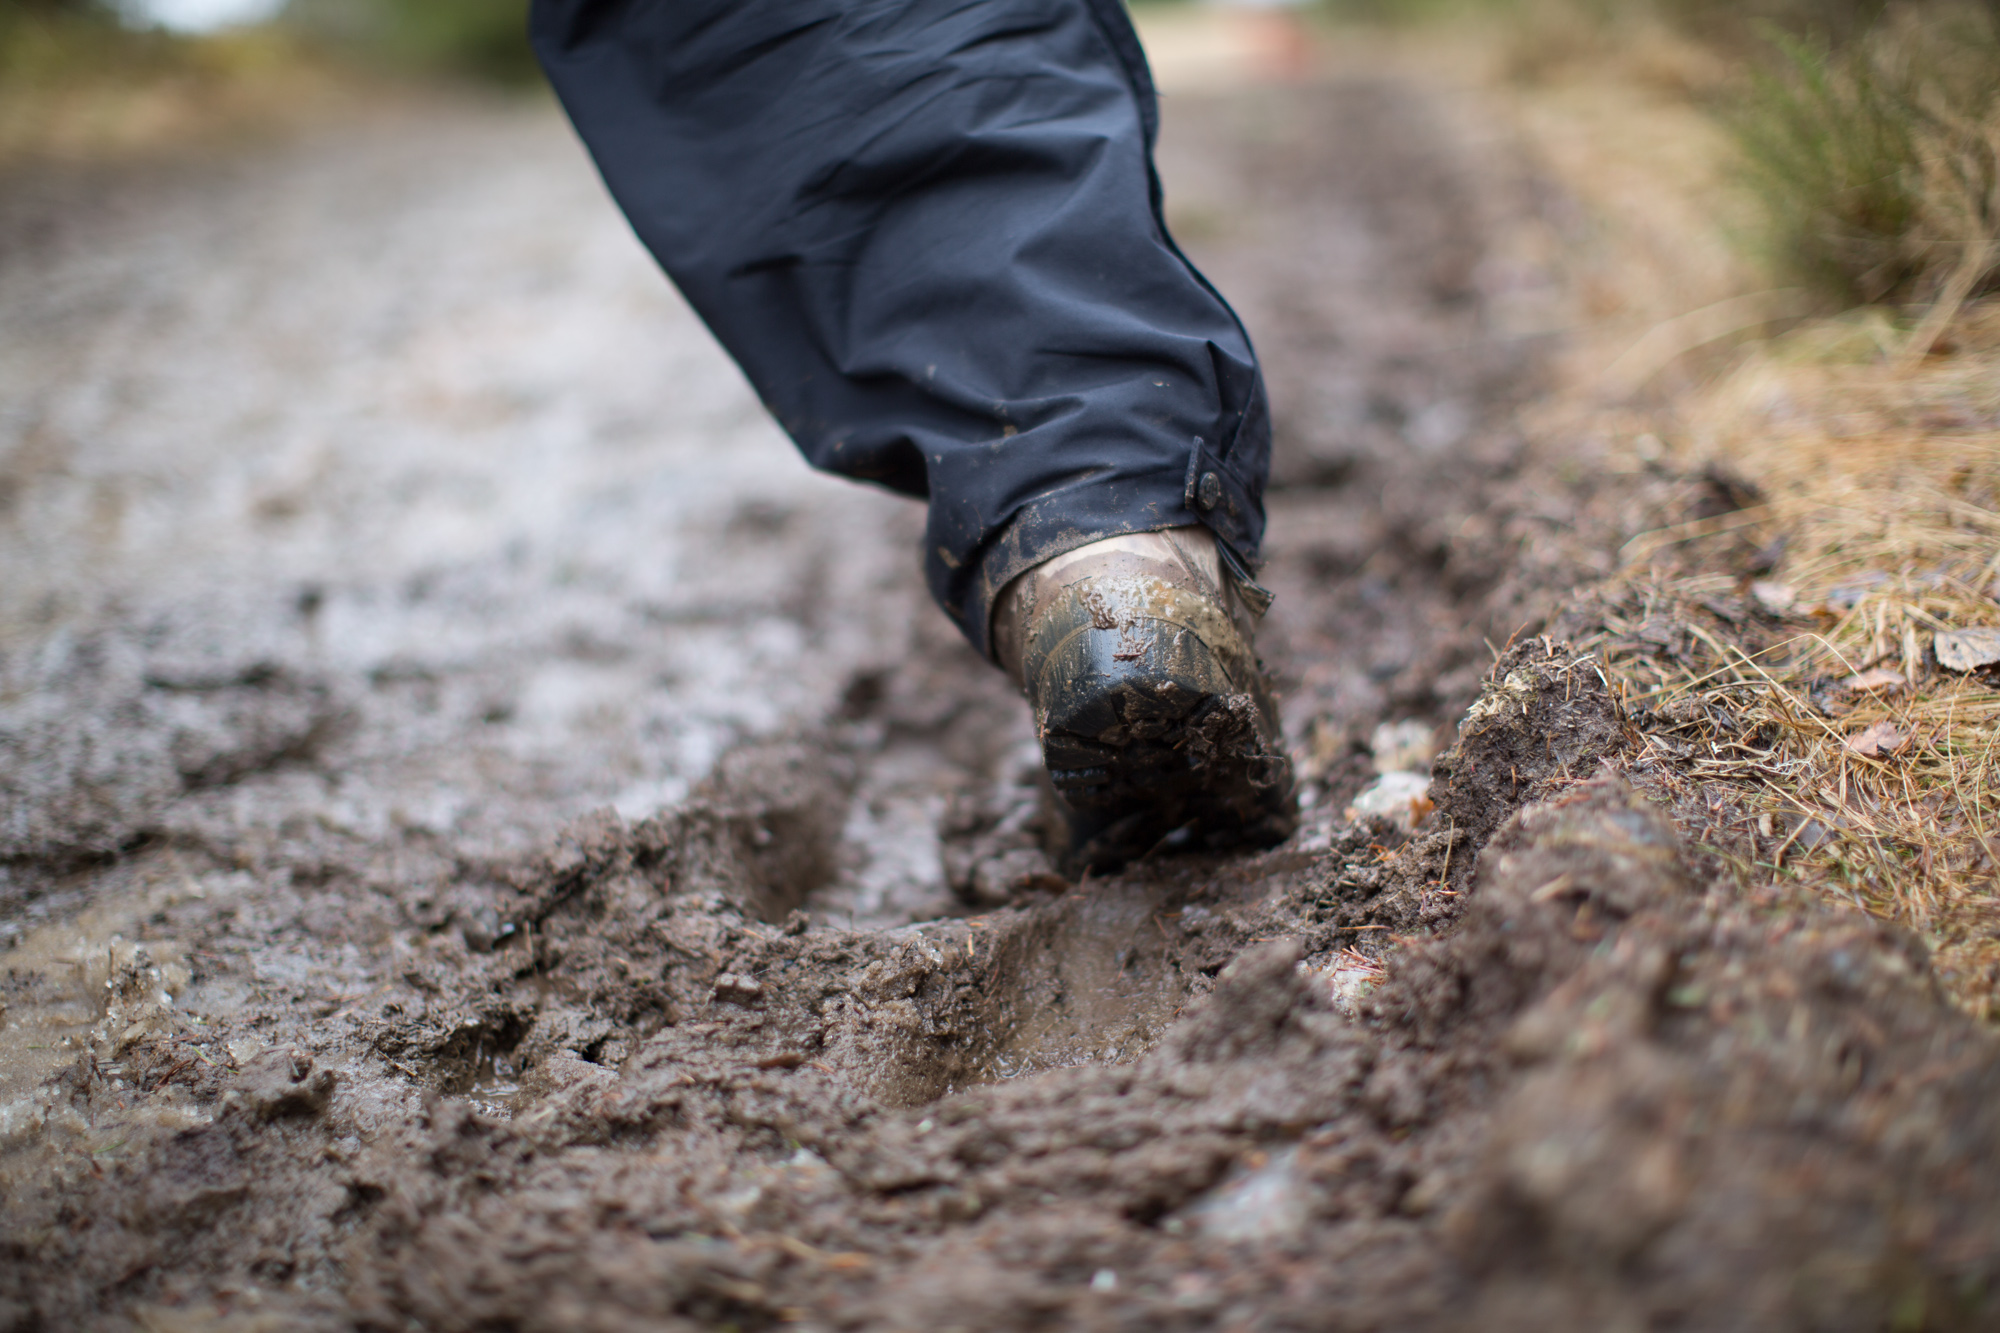
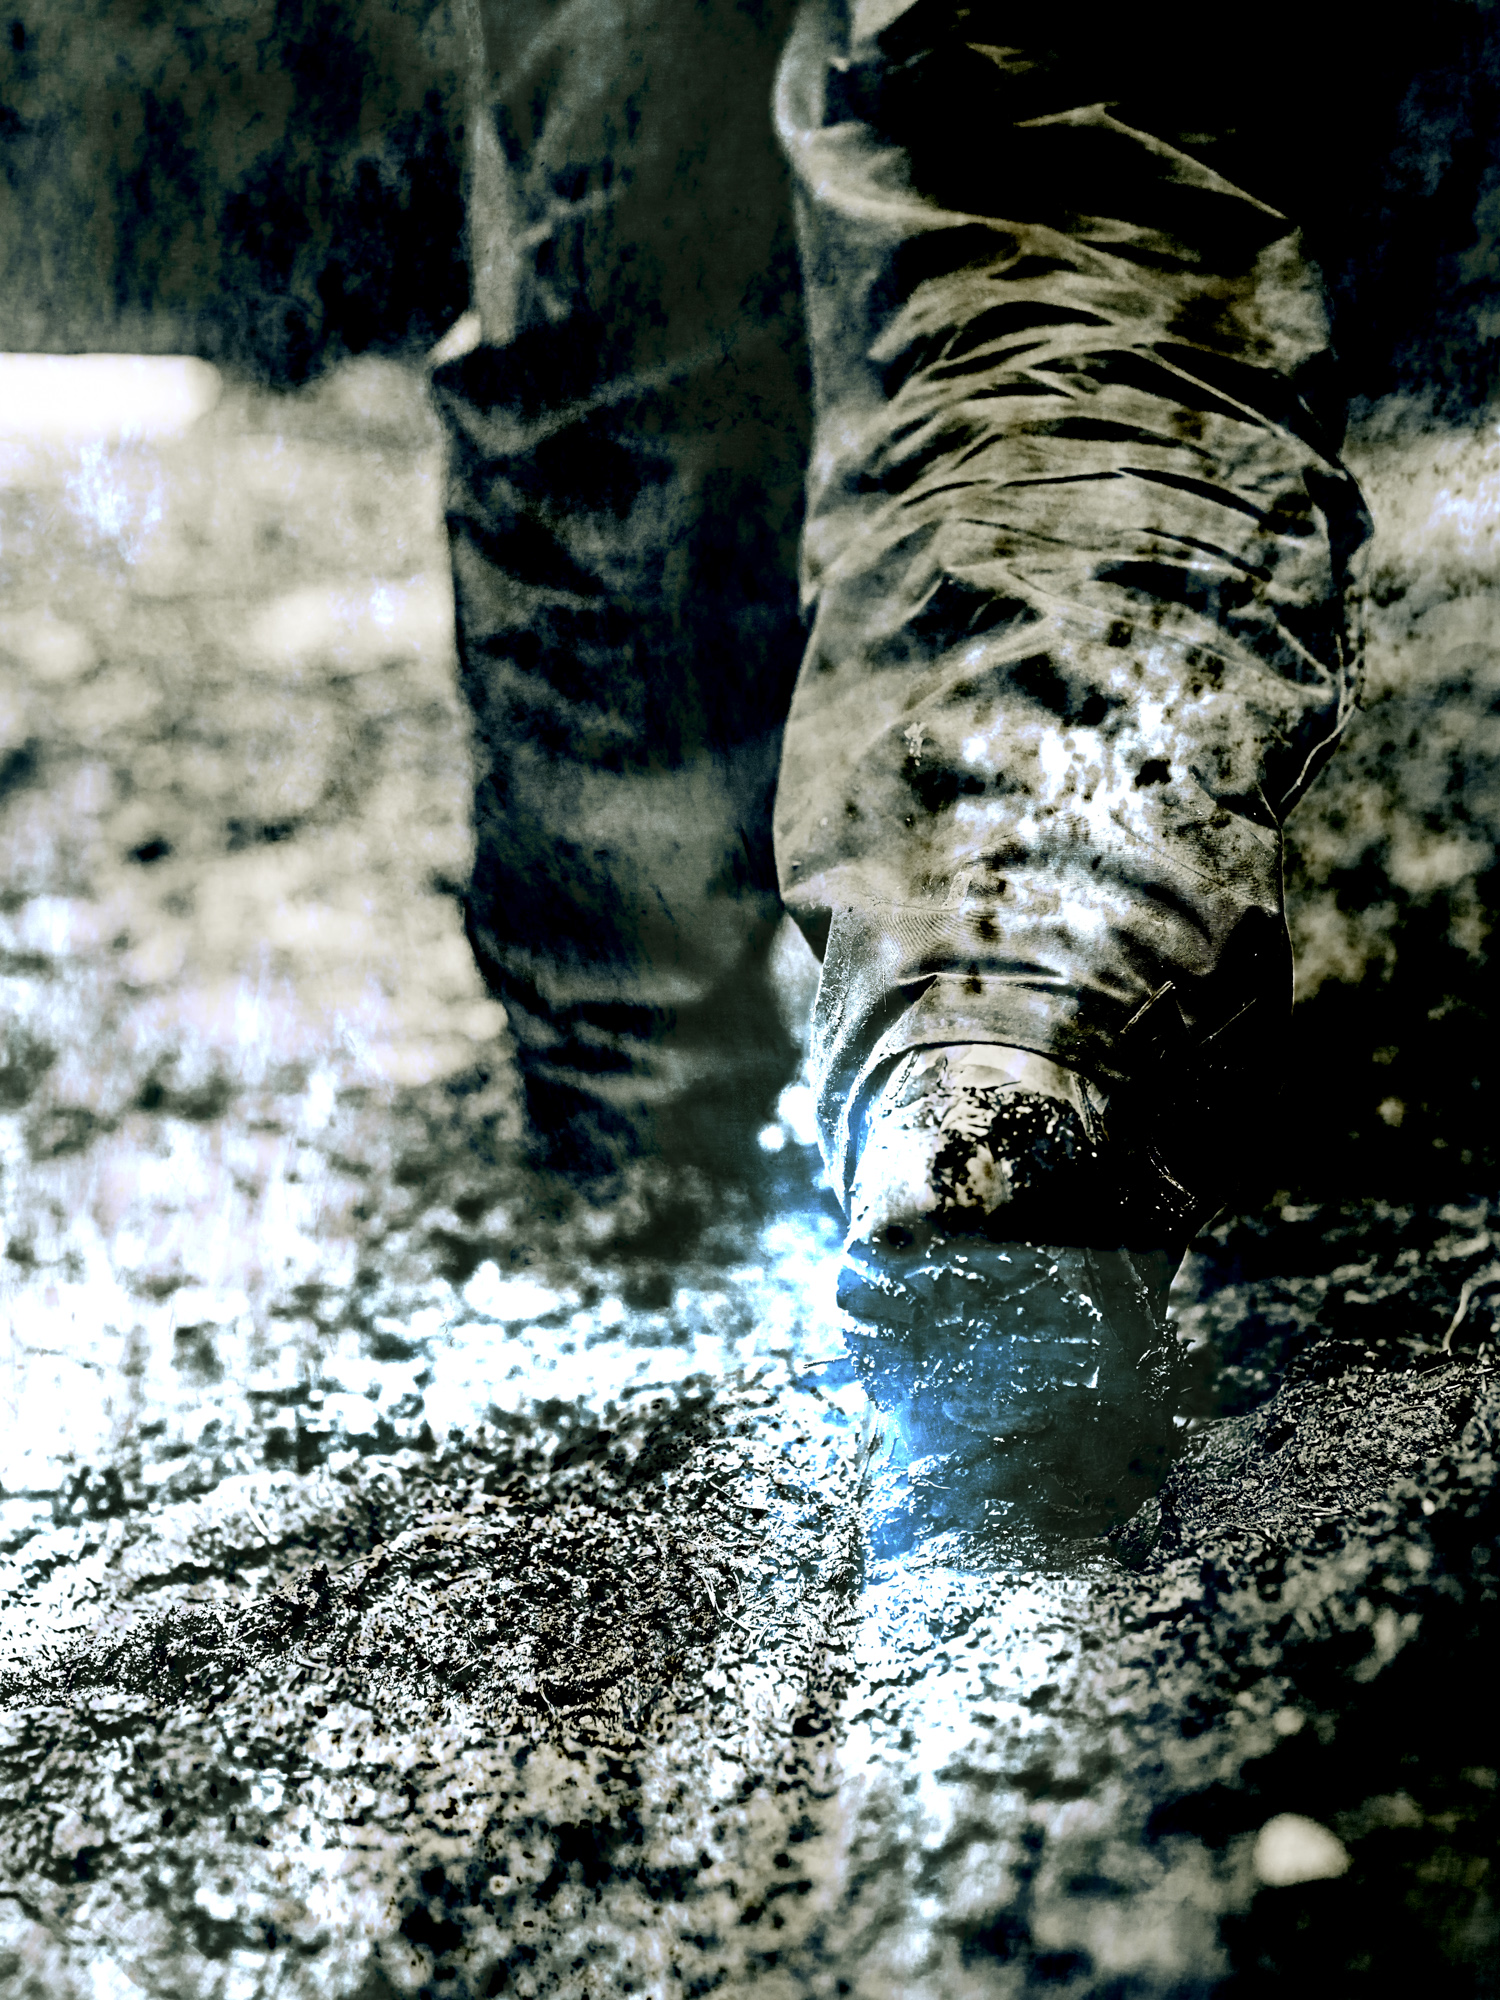
A few months back I attended a photo workshop. We had some classroom training, and then were sent out into the forest with tasks to complete. The first assignment was “Mud”. After a few “safe shots” just to have something to show for my efforts, I started working on what I had visualized in my mind: A dirty, gritty photo of a boot walking in the mud.
The first couple of tries didn’t go to well:
An early attemptAnother early attempt
I was not happy with the look nor the composition of these two (and all the others), so I decided to try something else.
Yet another try
Here, I was more happy with the composition, and decided to work on something else until we started post-production.
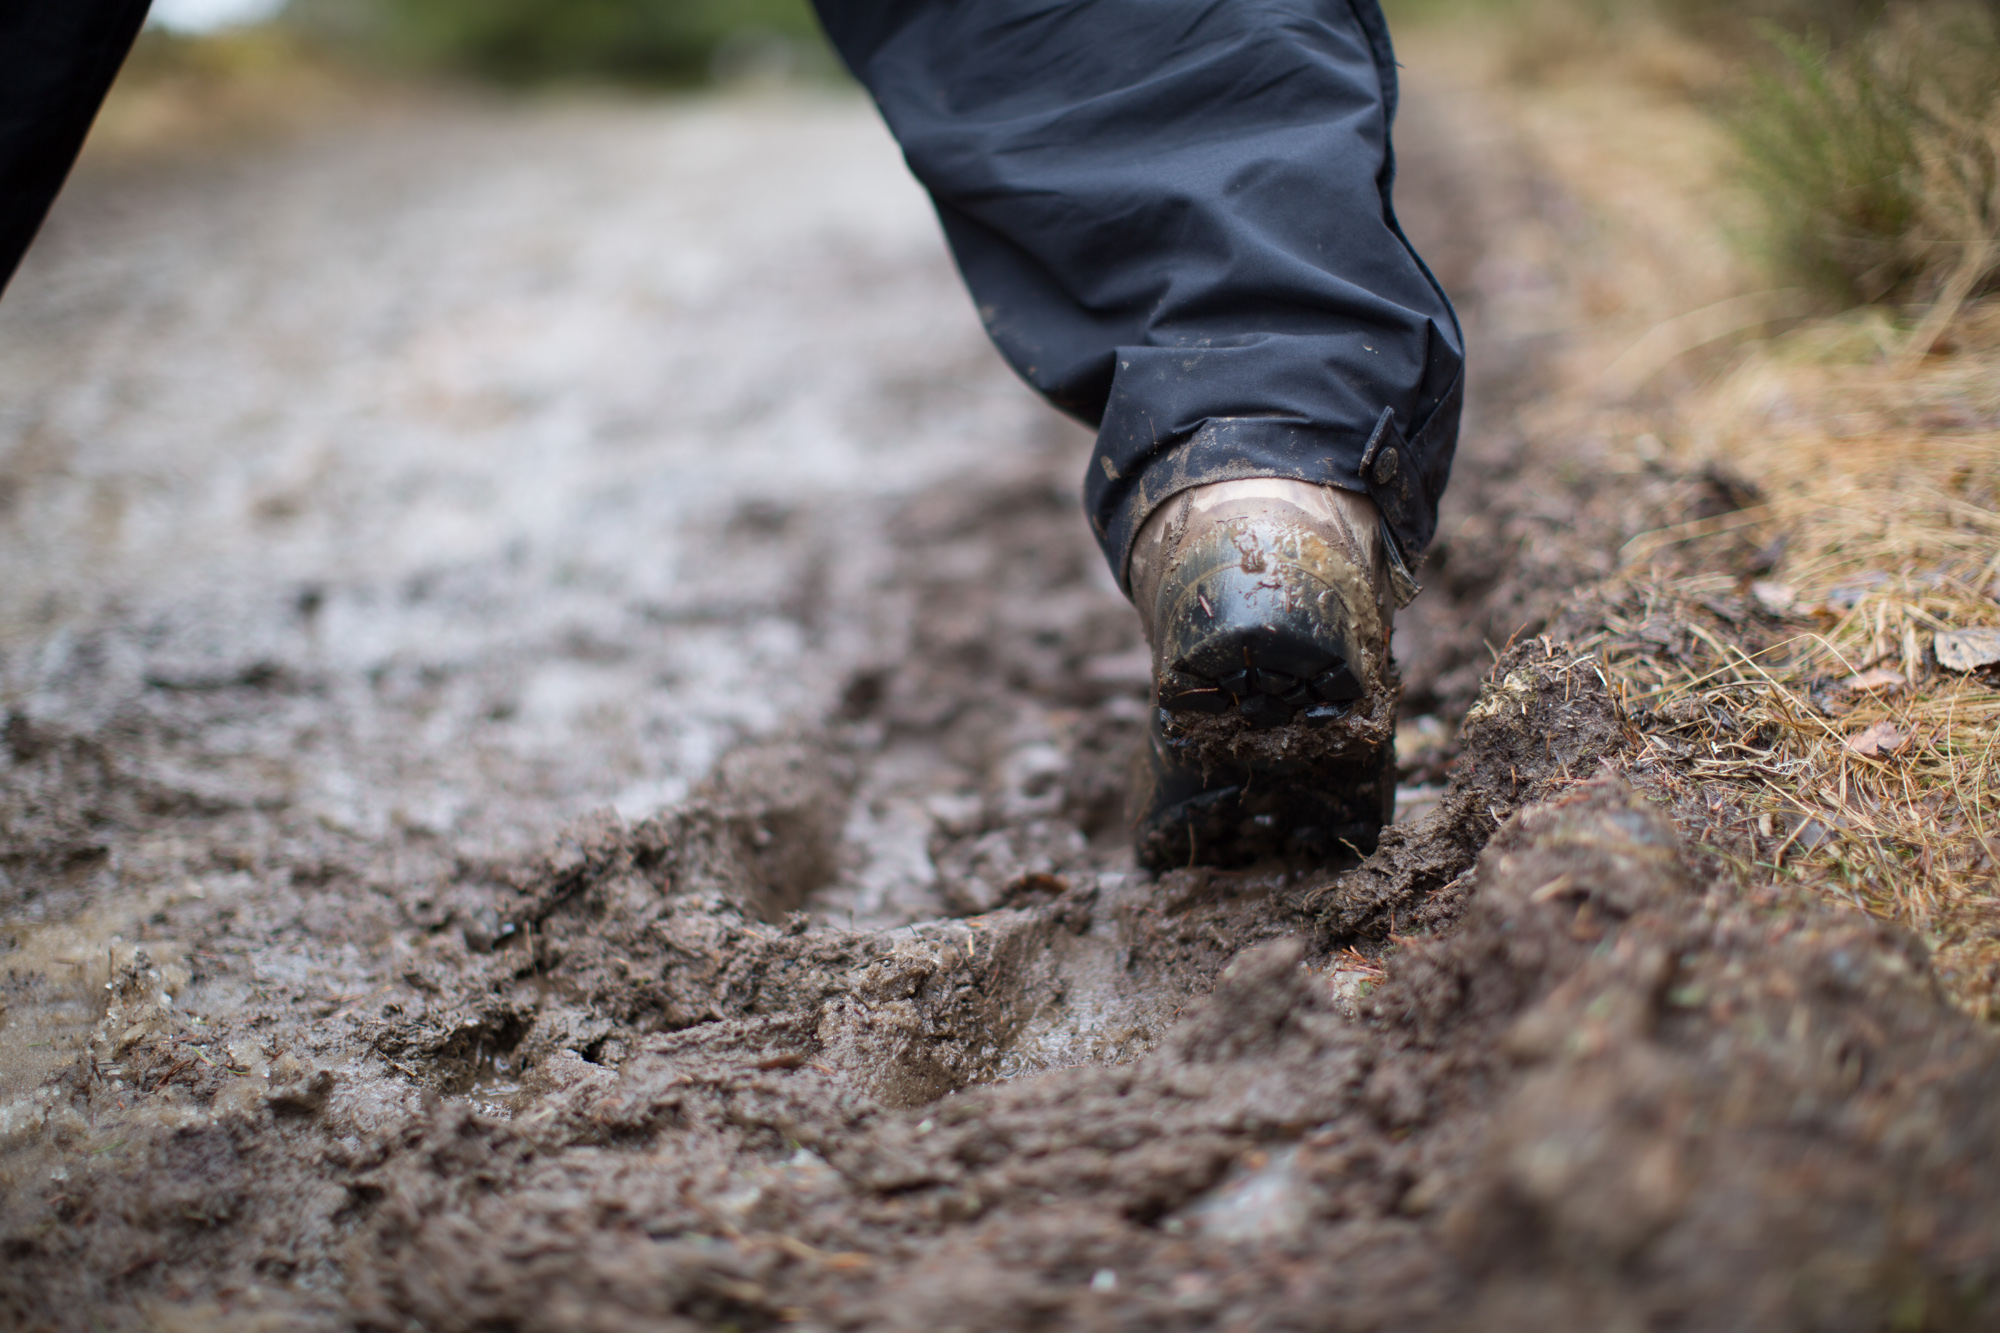
After some more photography in the nearby stream we went back and started working with the post production. My first action was to convert it to black and white:
Converted to black and white
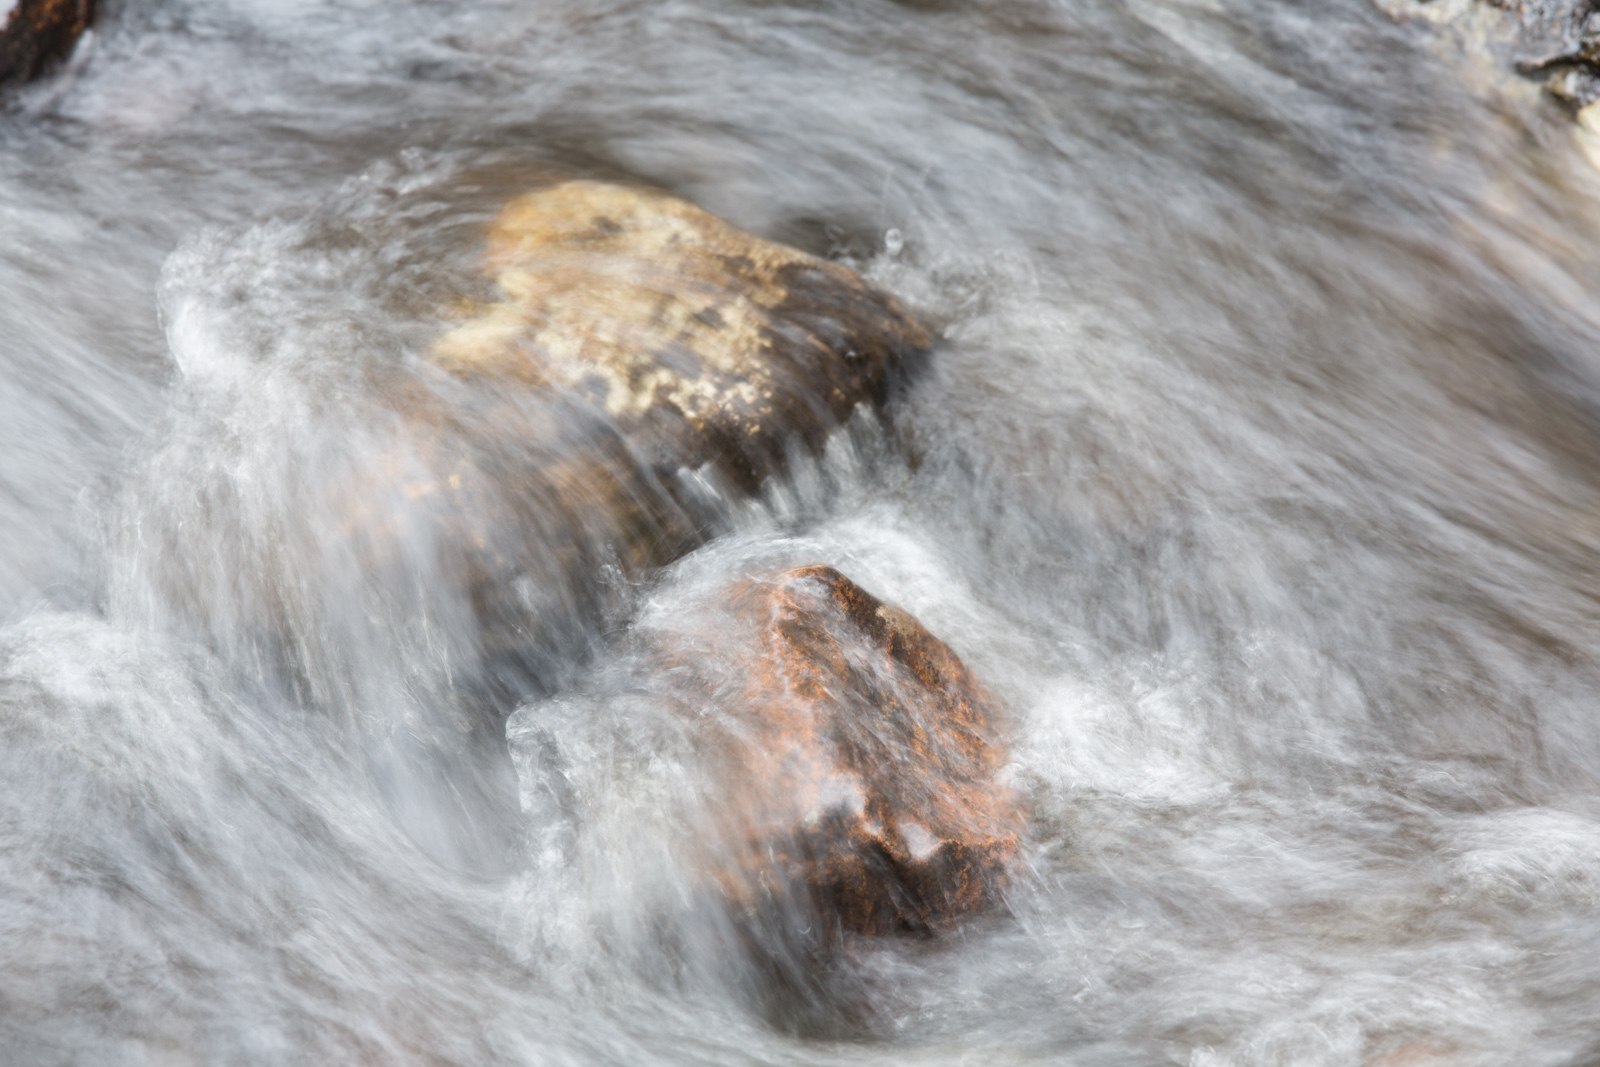
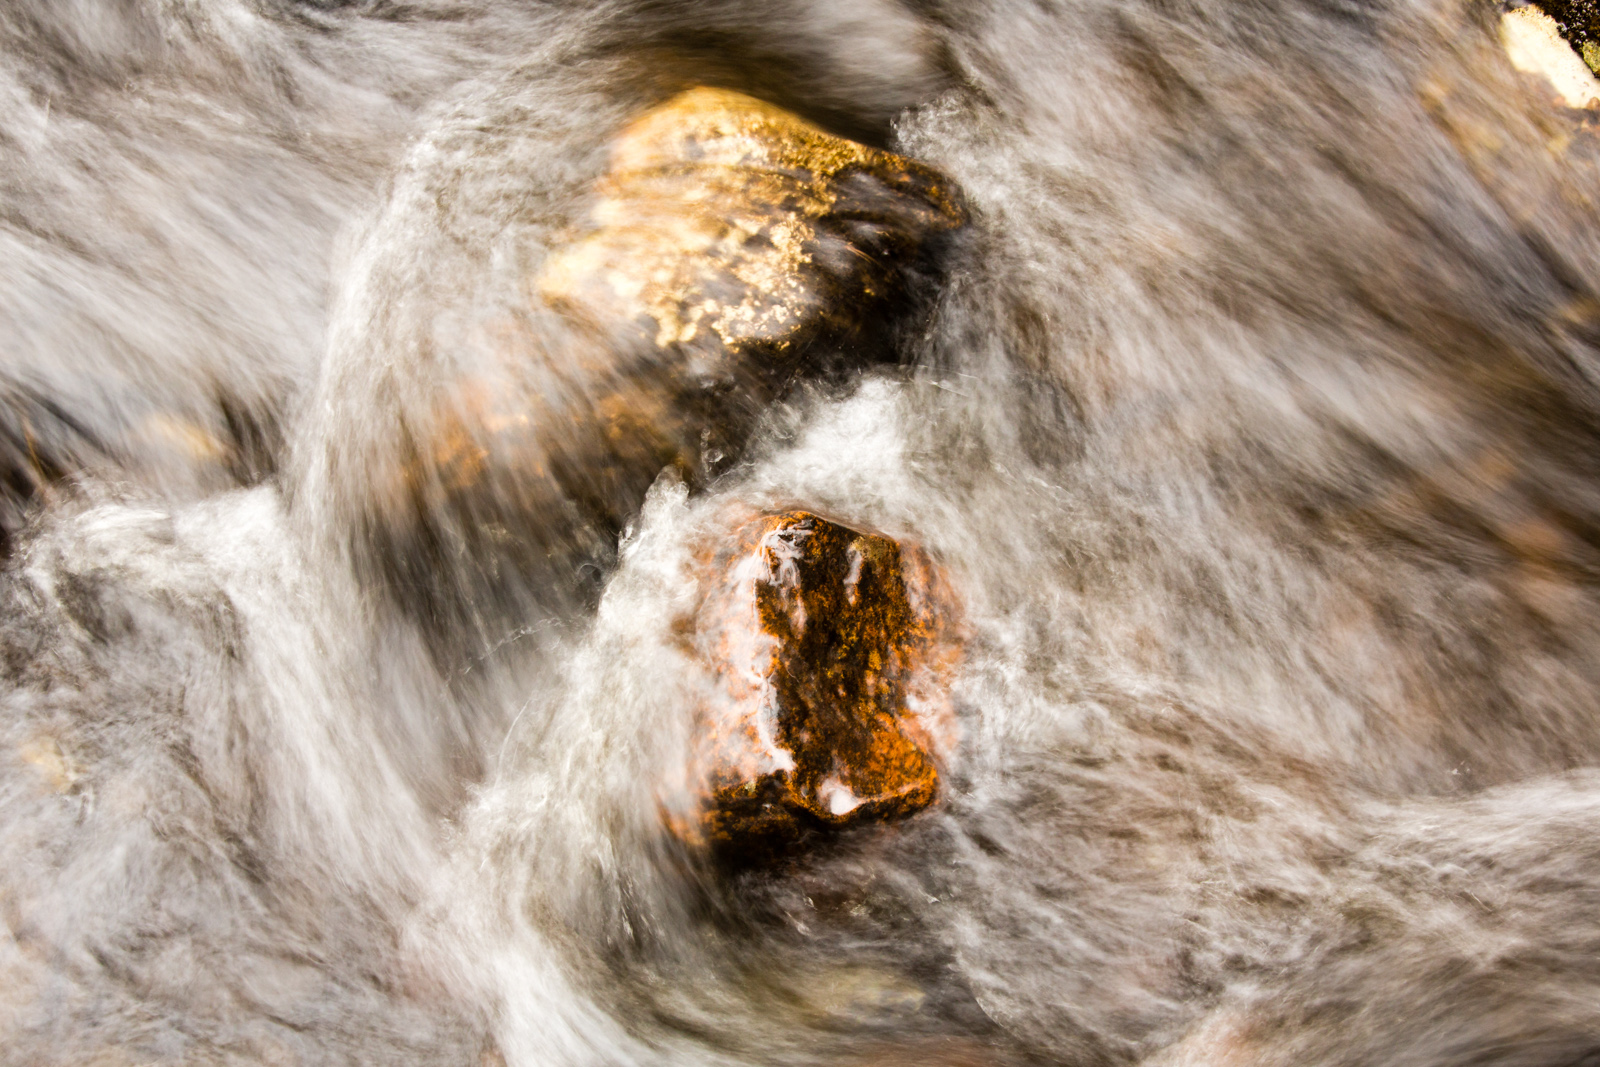
I still wasn’t really happy with it, so I left it alone for a while and worked on some other photos. As I was working on my unexpected cricket, I came across this multi-exposure I had taken down by the river:
6 images of a stone in the river merged into one in the camera.
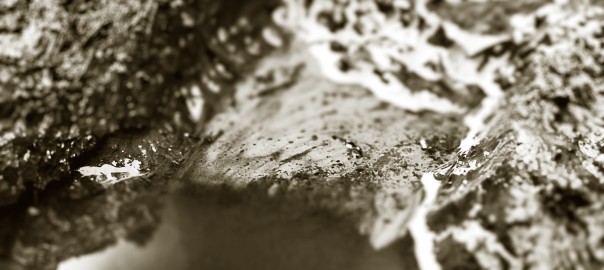
And this is where I have difficulty explaining my thought process. From somewhere deep in the back of my mind, I recognized that if I converted this to black and white and rotated it, it could make a nice enhancement to my mud-photo above.
Converted to black and white and given a blue tint
I opened them in Photoshop and merged them, and voila!! Just the gritty, rough photo I had in mind when I started…
Walking in mud
The process took quite a few unexpected turns along the way, and had I not kept an open mind, I doubt that I would have found the final result… Especially since this was not a preplanned process, but more of a experimentation.
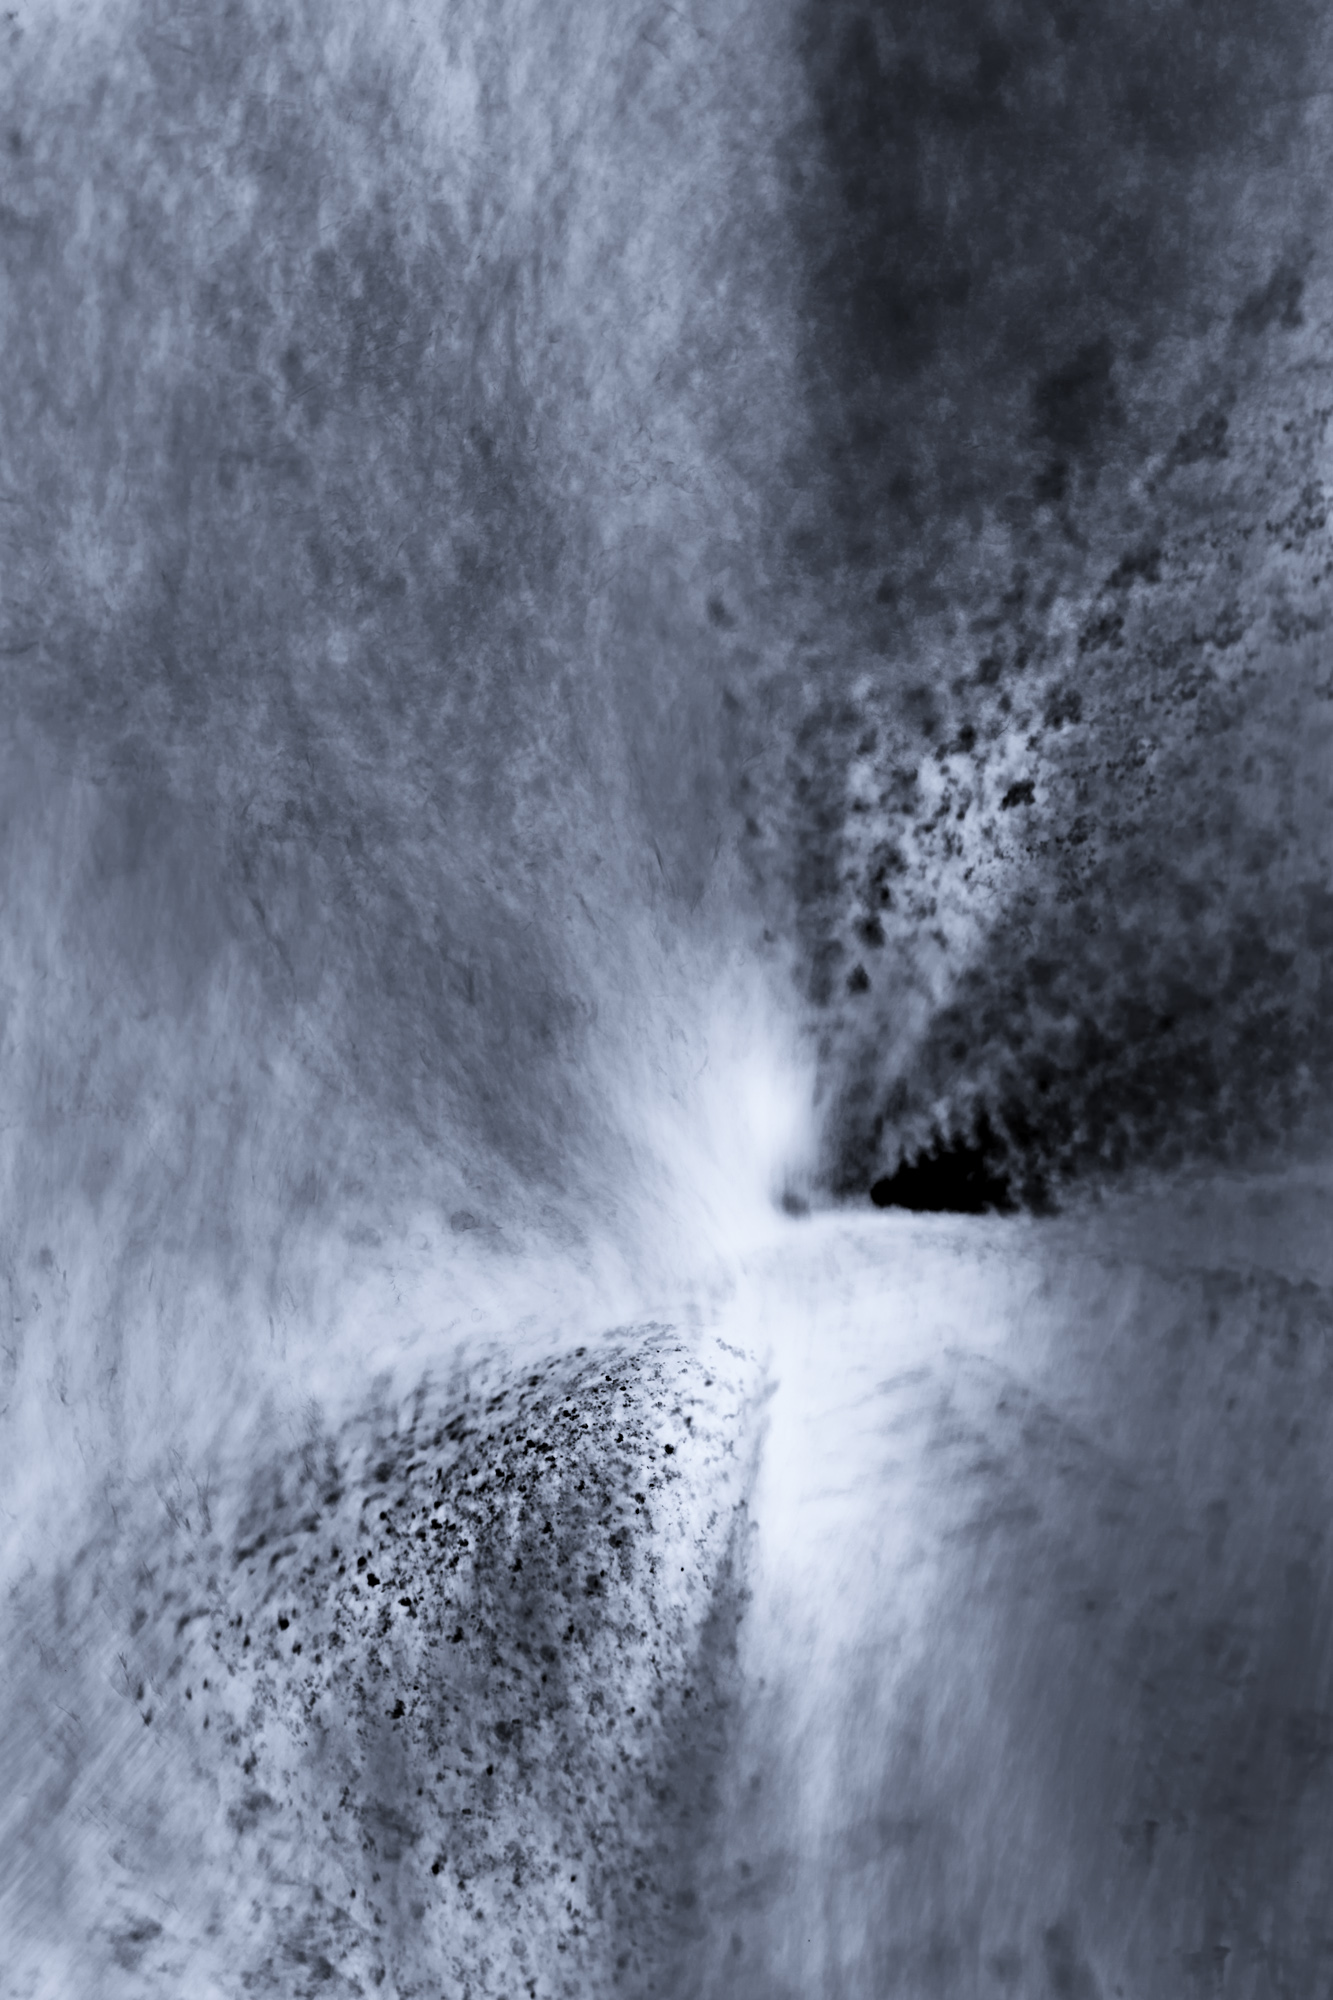
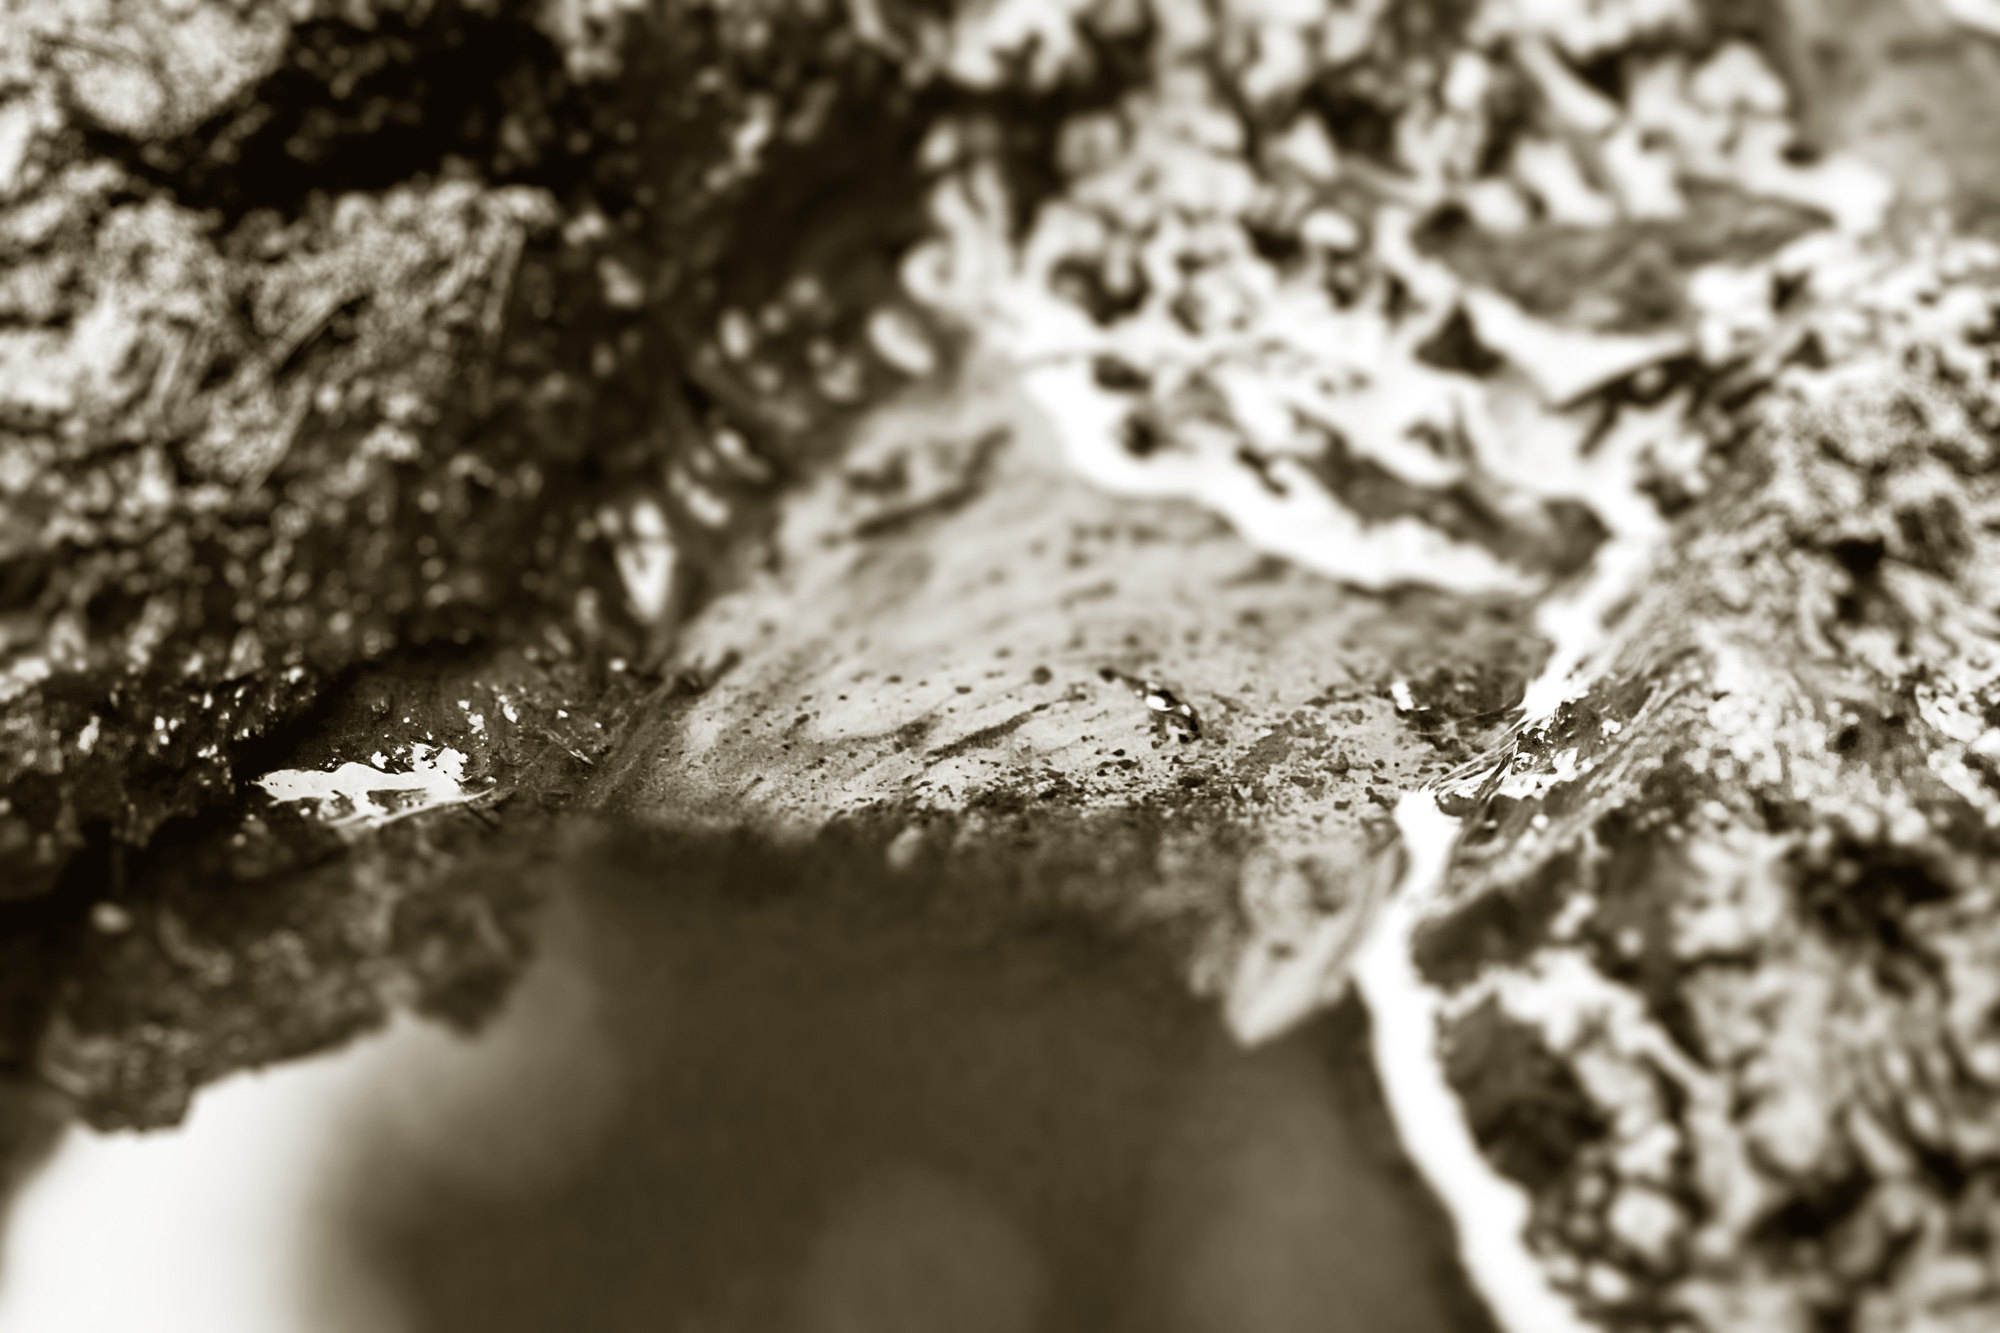
And in case you were wondering what my “safe shot” was, I took some photos of a “valley” in the mud, knowing that if I converted to black and white and gave it some depth of field, it would look somewhat similar to a fjord with a beach…
It has been a while, I know… And it is not because I have lost interest, far from it. Things have been really hectic at work, so there has been little time for blogging. However I hope that I will get back to more regular blogging during the summer 🙂
Over the past years, I have worked hard to master the technical aspects of photography. However, I know that I still have a lot to learn about seeing and about photography as a creative process. So when I got the chance to learn more about the creative process, I grabbed the opportunity.
Creativity is hard work, and one of the afternoons was spent in a small stream close by where we were to explore the possibilities of flowing water.
I came home with hundreds of photos of flowing water…
A lot of flowing water…
I started to sort through them, and found some that I could use:
An early capture of flowing water…
However, I didn’t really feel that it had the “it” quality I was looking for. So I kept looking:
More flowing water
This one looked a bit better, but still I felt I was not quite where I wanted to be. So I tried to open it in Photoshop instead where I converted it to duotone and then inverted it. And there, suddenly I saw it…
A cricket seeking shelter from the storm…
Can you see it?
Another topic for the workshop was “Mud”. I will write more on that in a later post.